SPOILER WARNING!
This article contains information that may ruin your enjoyment of discovering the game's secrets for yourself. Read at your own risk! |
Read at your own risk!
| The Cursed Rogue Walkthrough | |
|---|---|
| |
| Details | |
| Type | Walkthrough |
| Related | The Shroudbreaker (Quest) |
This Article is a Walkthrough with expandable Hints and image Galleries of The Cursed Rogue Tall Tale. For general information of the Tall Tale visit The Cursed Rogue page.
Guide[]
Players that want to avoid Tall Tale spoilers can find expandable Hints in each section that provide solutions to a specific step of the Tale Tale. The full written Walkthrough includes a Gallery and can be found below the Hints sections.
For those that also want to complete all of the Commendations tied to the Tall Tale should also keep their eyes out for the five Bounty Hunter's Journals needed to complete the The Hunter's Trail Commendation. These Journals are not necessarily located near the Tale Tale objectives, so players might need to go out of their way to collect them.
The first The Cursed Rogue journal is located on Shark Bait Cove and will lead players to the location of the next. The Walkthrough mentions the best time to grab the Journals. Each Journal contains the exact locations and images of the next Journal in the chain.
The Cursed Rogue also includes two checkpoints, noted in the Walkthrough. After receiving a Checkpoint, players can leave or vote to cancel the Tall Tale and continue it from that Checkpoint at a later time by putting it up for a vote on the Voyage Table. All necessary Quest Items for Tale completion will appear on the Voyage Table after a Checkpoint is voted for.
Opening[]
Players can begin the Tall Tale by voting on the Tale Book next to Madame Olivia in the Order of Souls tent at Plunder Outpost. Madame Olivia starts the tale by giving players The Cursed Rogue Tall Tale Book and its starting pages, detailing the location of Captain Briggsy.
MADAME OLIVIA
Pray, enter and take respite.
I am Madame Olivia of the Order of Souls, and your arrival was foretold to me
As was your quest to seek out and destroy the abomination once known as Briggsy.
As you may know, the Order offers bounties for the skulls of those undead wretches who roam the Sea of Thieves.
Yet even I am not permitted to send pirates in pursuit of a Skeleton Lord, for that would be sending them to oblivion.
In life, Briggsy was a flamboyant adventurer who thrived on danger and excitement.
How could she not seek out the fabled Shores of Gold? But now she has been consumed by evil's thrall and is a fearsome foe to all she encounters.
And yet, if the whispers on the wind are true, you have already claimed the Shroudbreaker.
Perhaps there is a chance you might prevail…
Very well. These papers hold fragments of memories of those who pledge allegiance to the Skeleton Lord.
If you can decipher their meanings, they may lead you to artifacts - relics of Briggsy's life.
Bring all that you find to me and I will shine a light into the darkness that awaits you. Go now! I must prepare the ritual ready for your return…-
-
-
-
The Tale Book[]
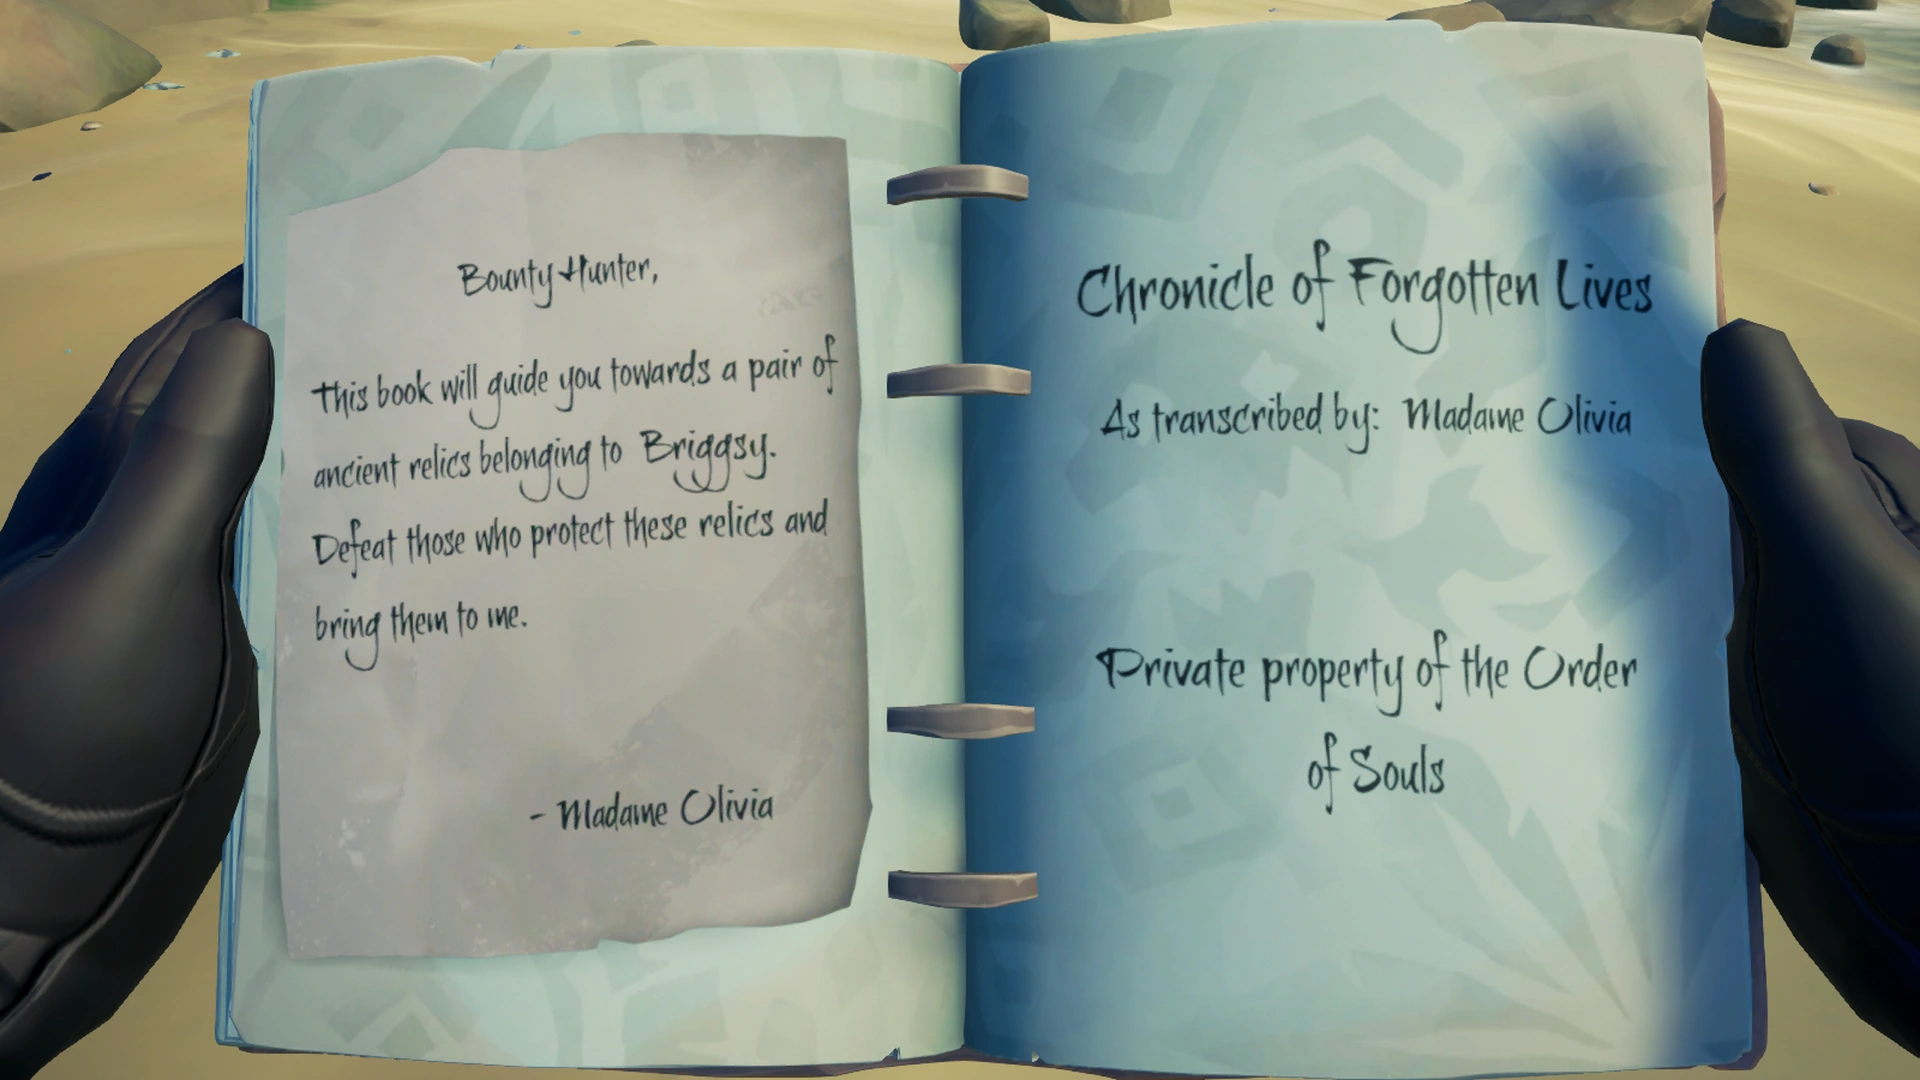
After players start the Tall Tale, Madame Olivia gives them the Chronicle of Forgotten Lives Tale Book. Once acquired, the Tale Book can be equipped and read from the Map Radial Menu, viewed with the Primary Use button (![]() /
/![]() ) and shown with Secondary Use (
) and shown with Secondary Use (![]() /
/![]() ). When inspecting the Tale Book with Primary Use, players can turn its pages to read more (Previous Page:Q/
). When inspecting the Tale Book with Primary Use, players can turn its pages to read more (Previous Page:Q/![]() ; Next Page:E/
; Next Page:E/![]() ).
).
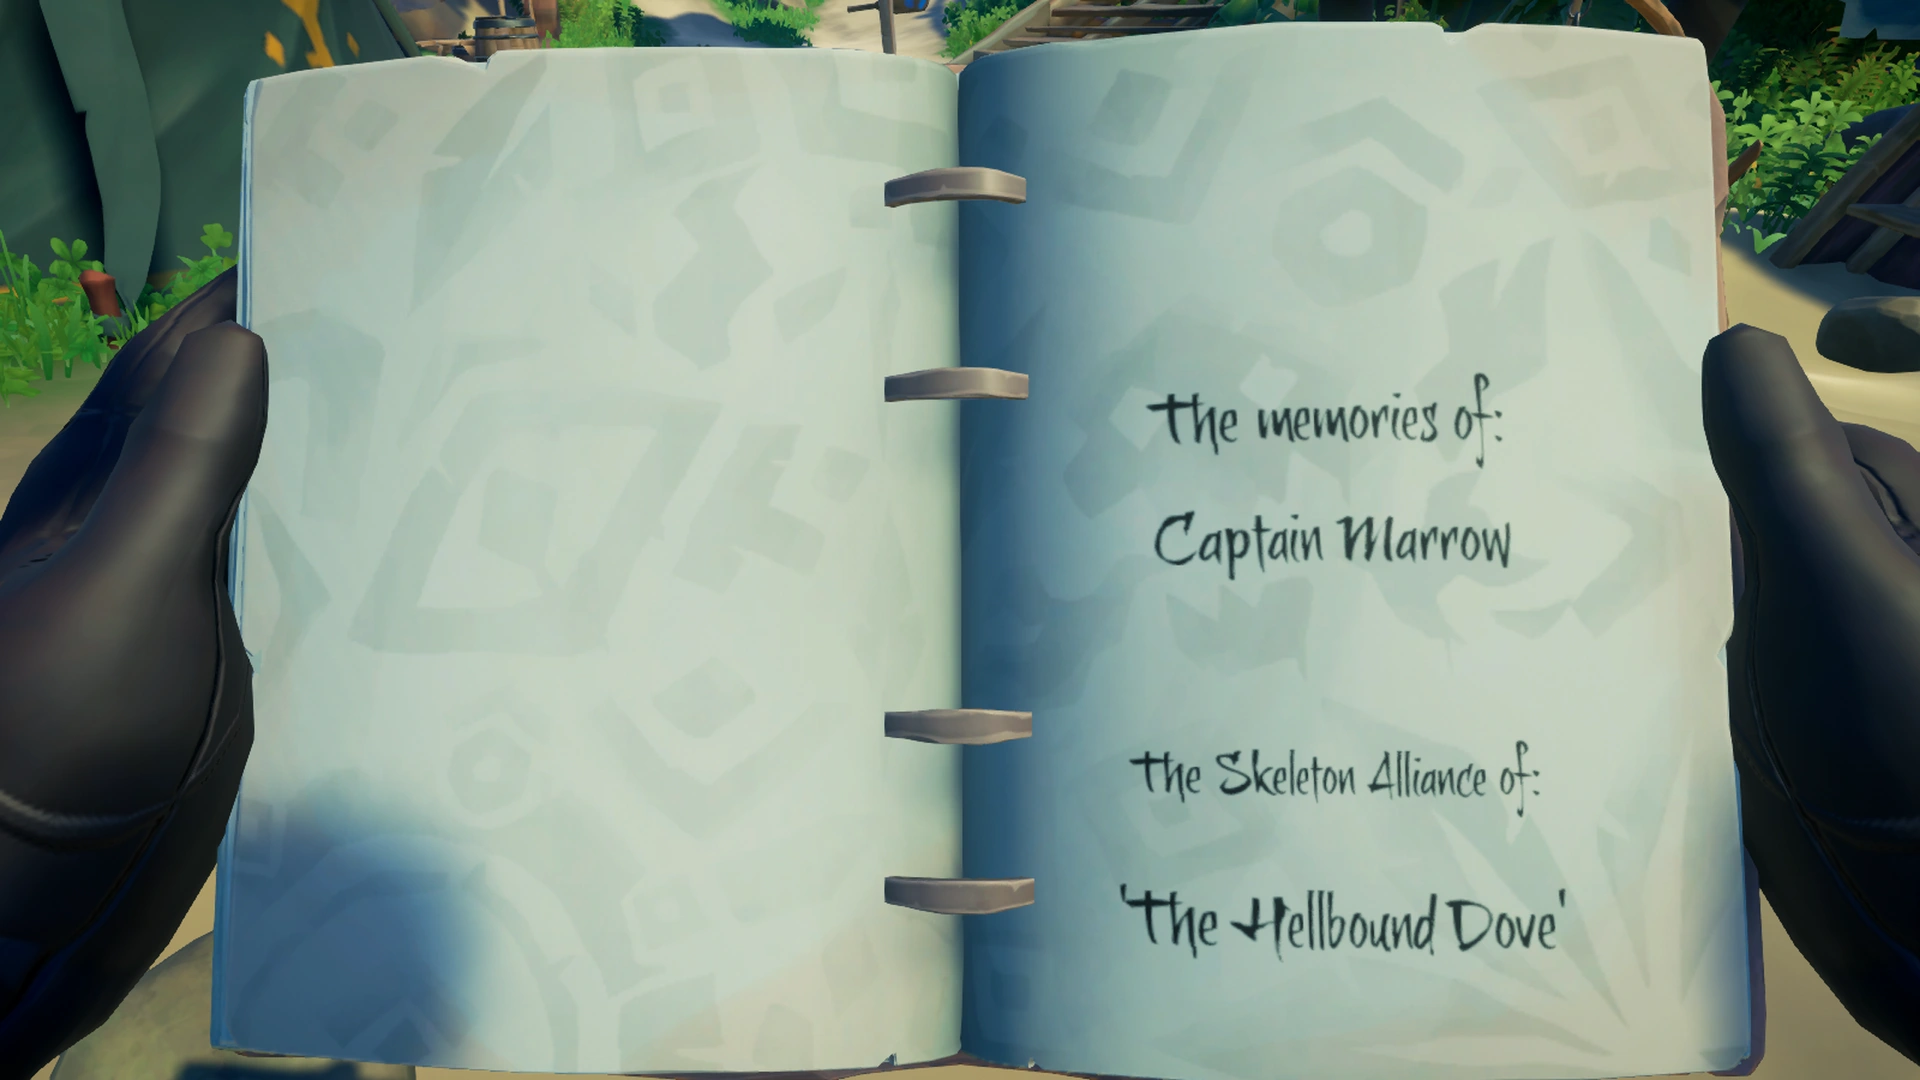
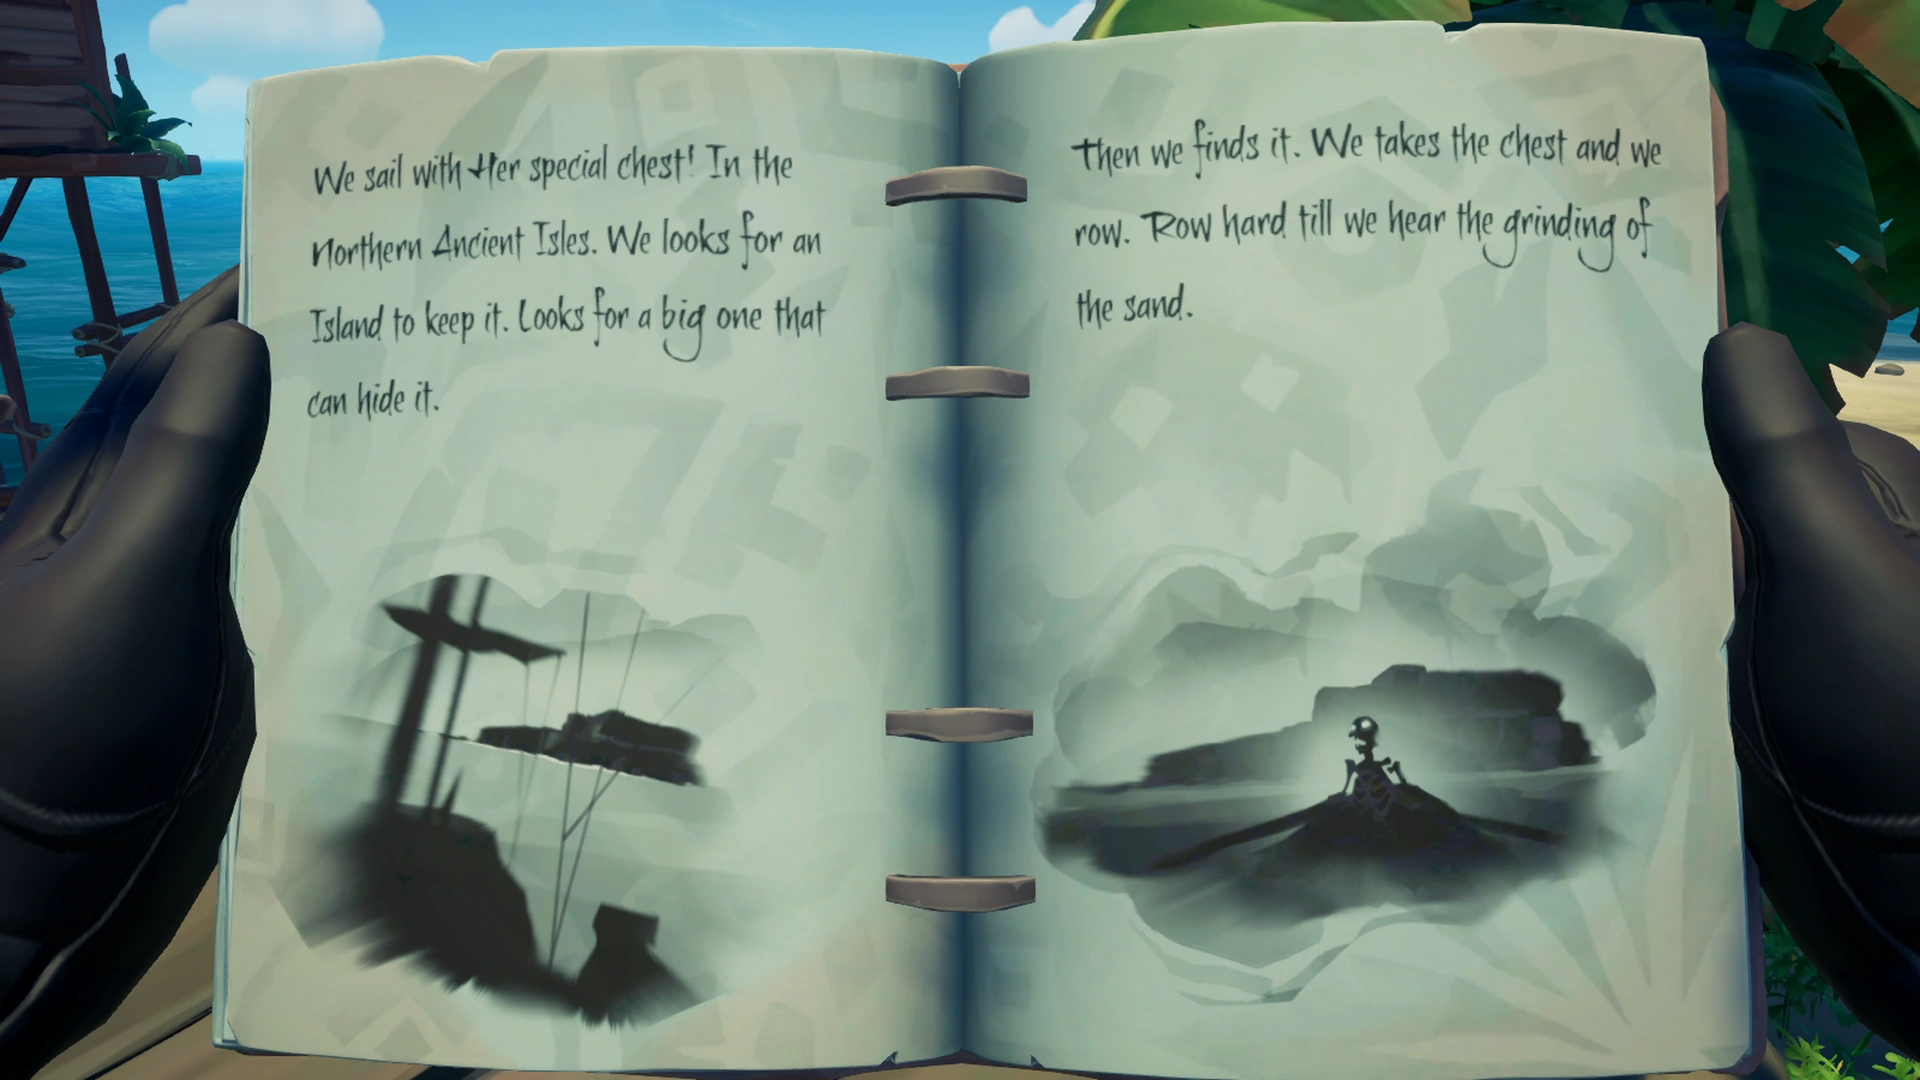
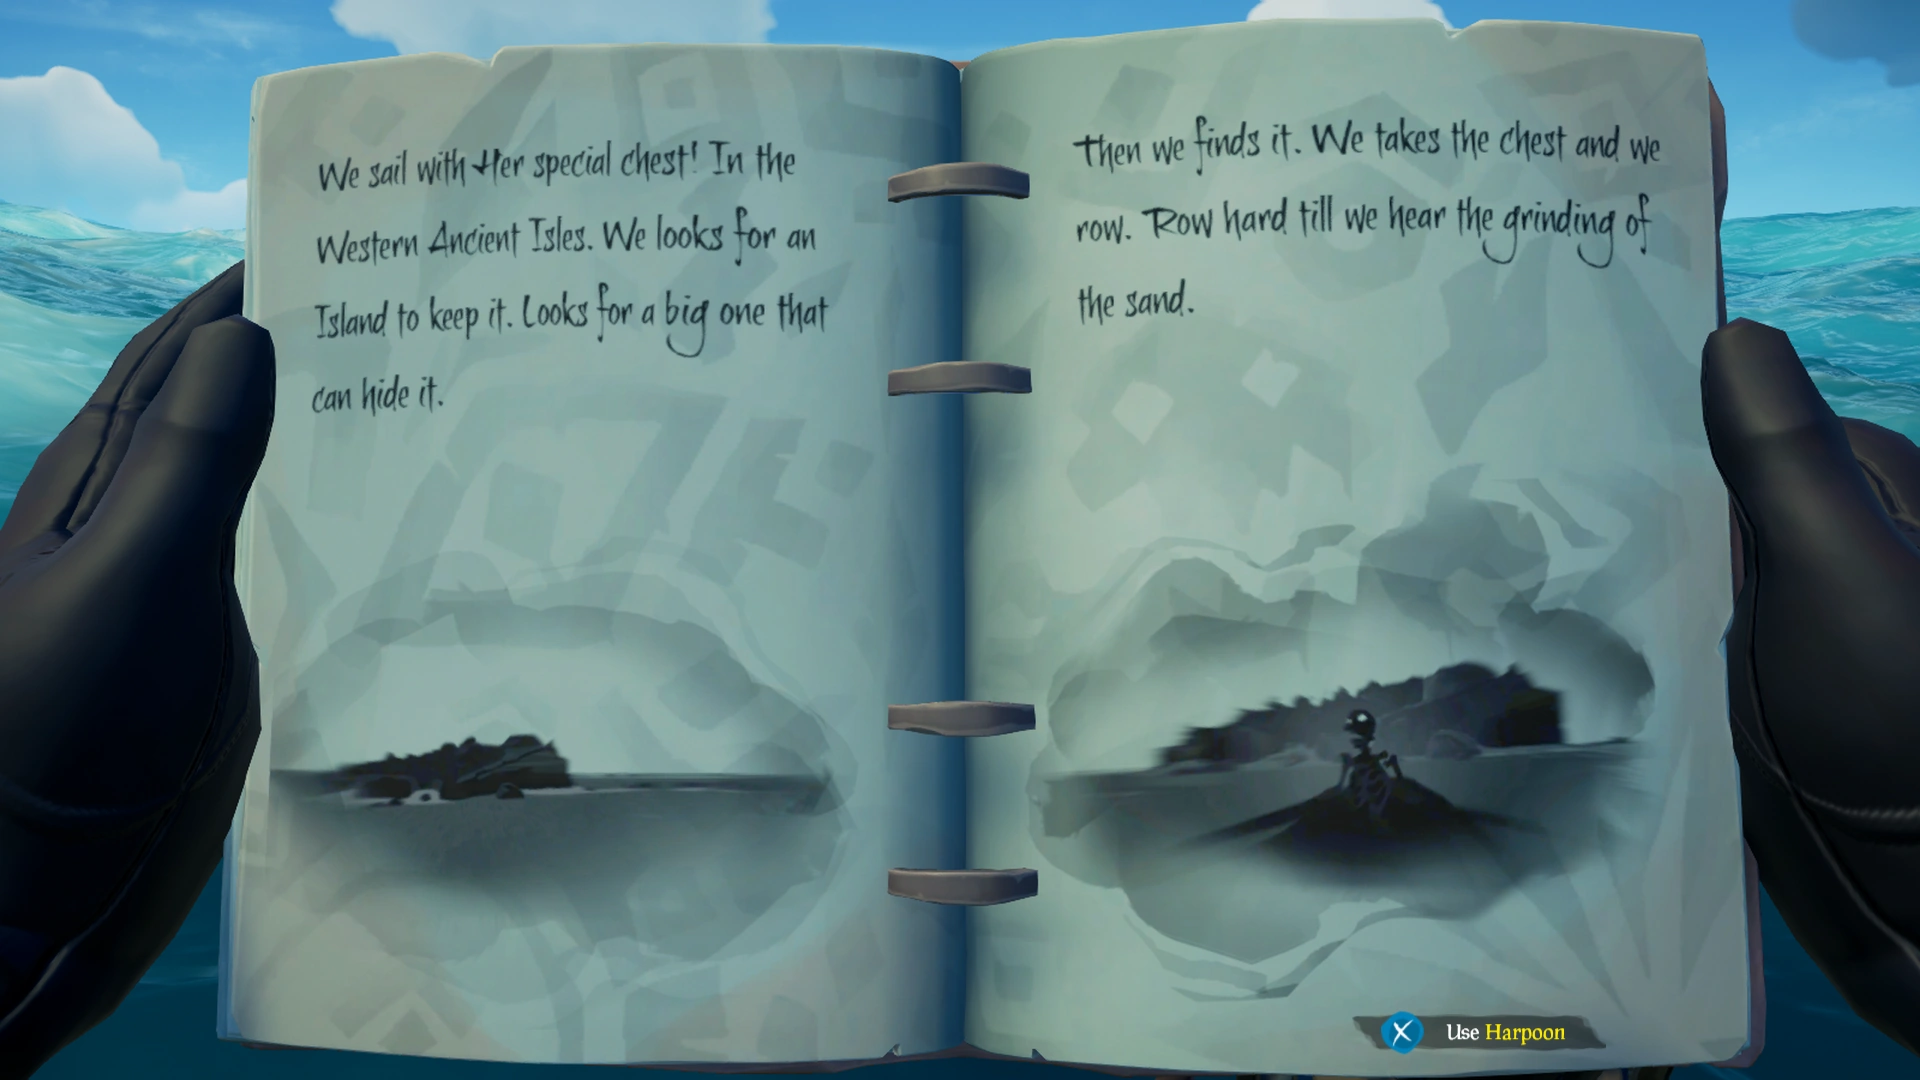
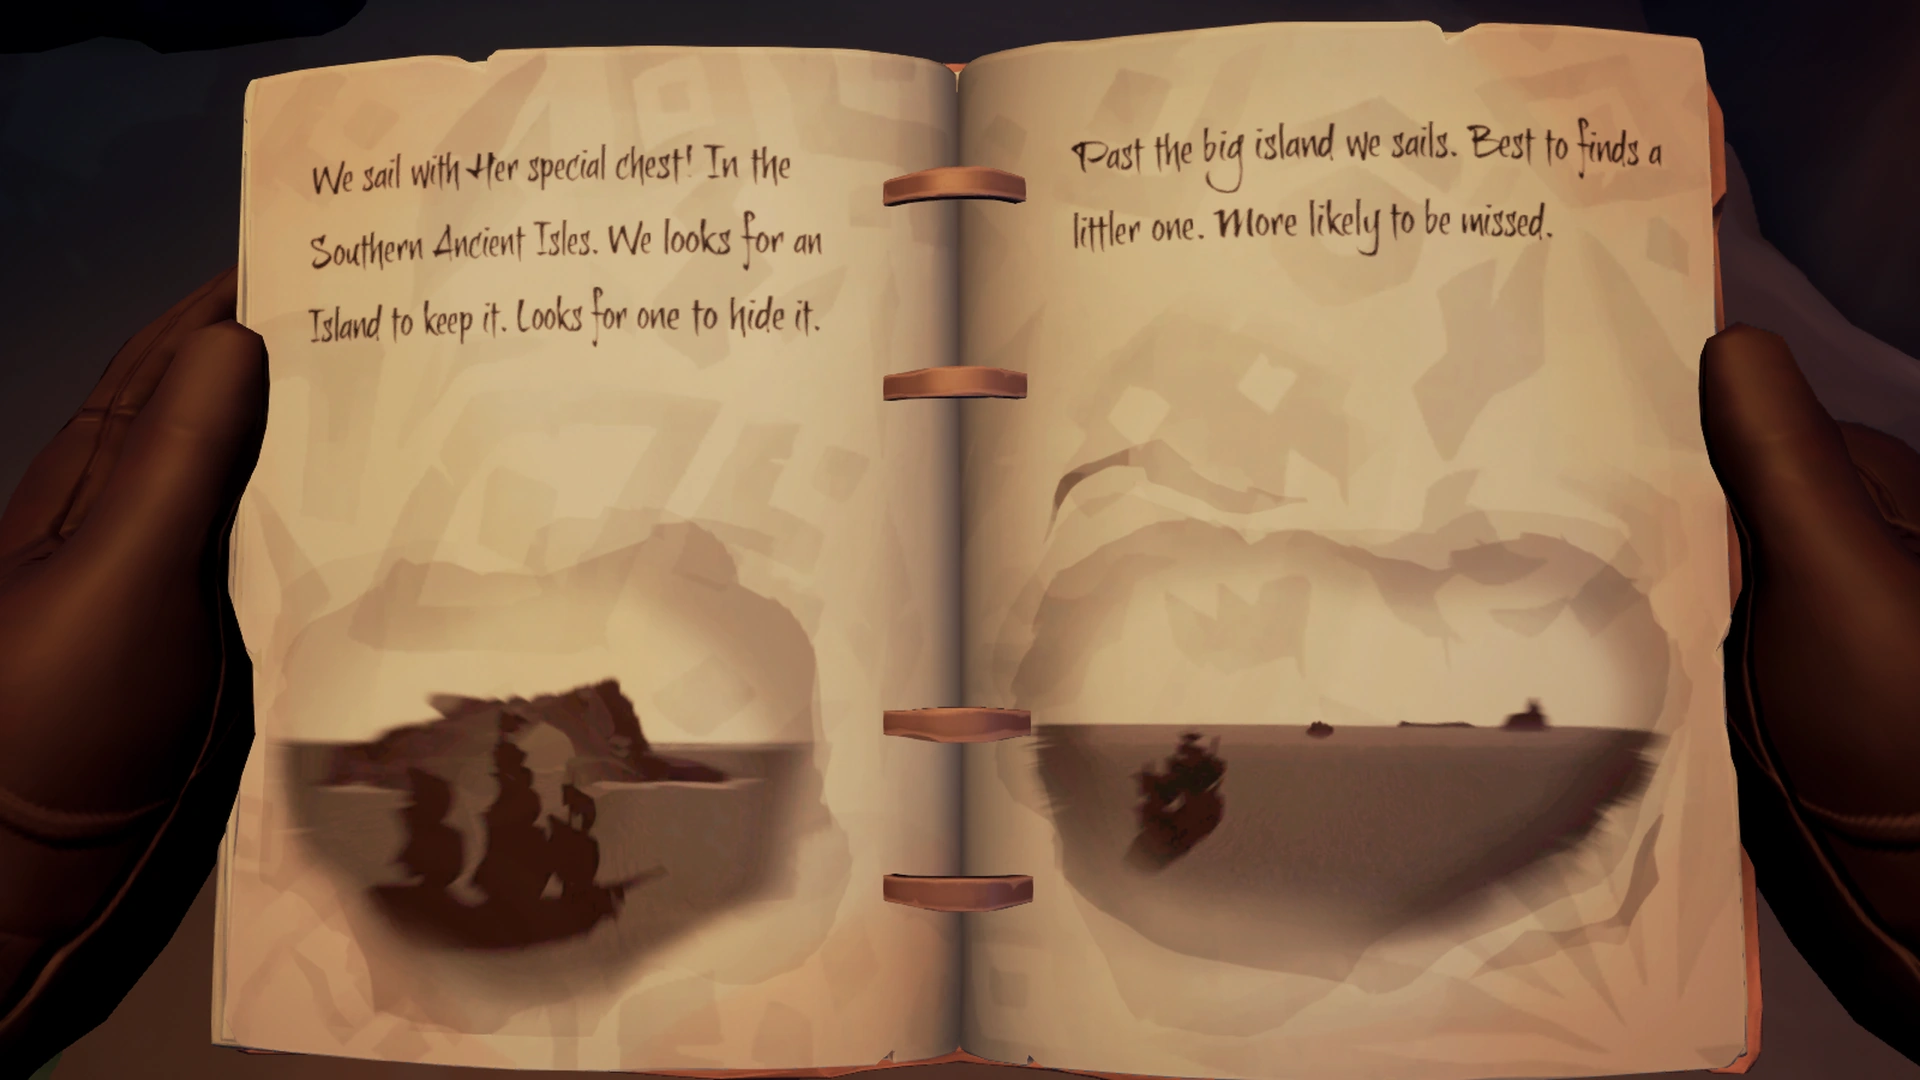
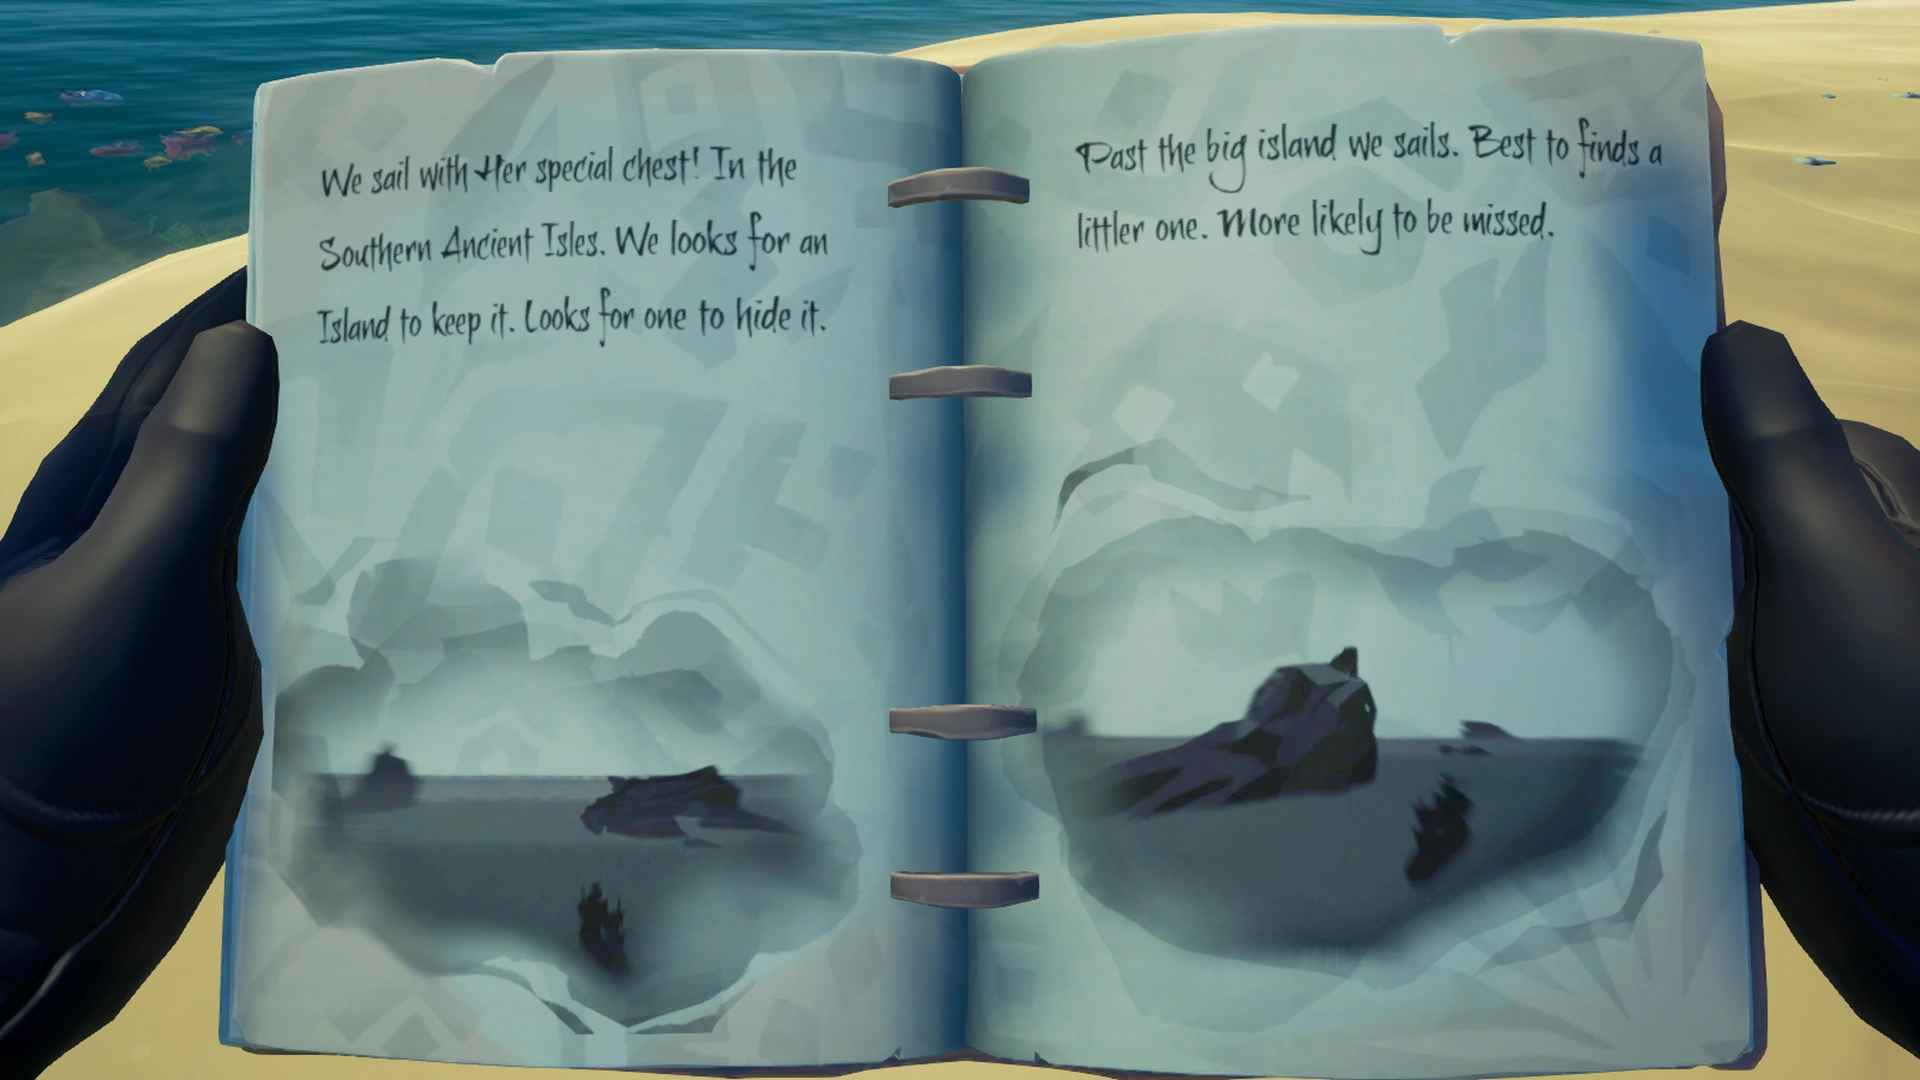
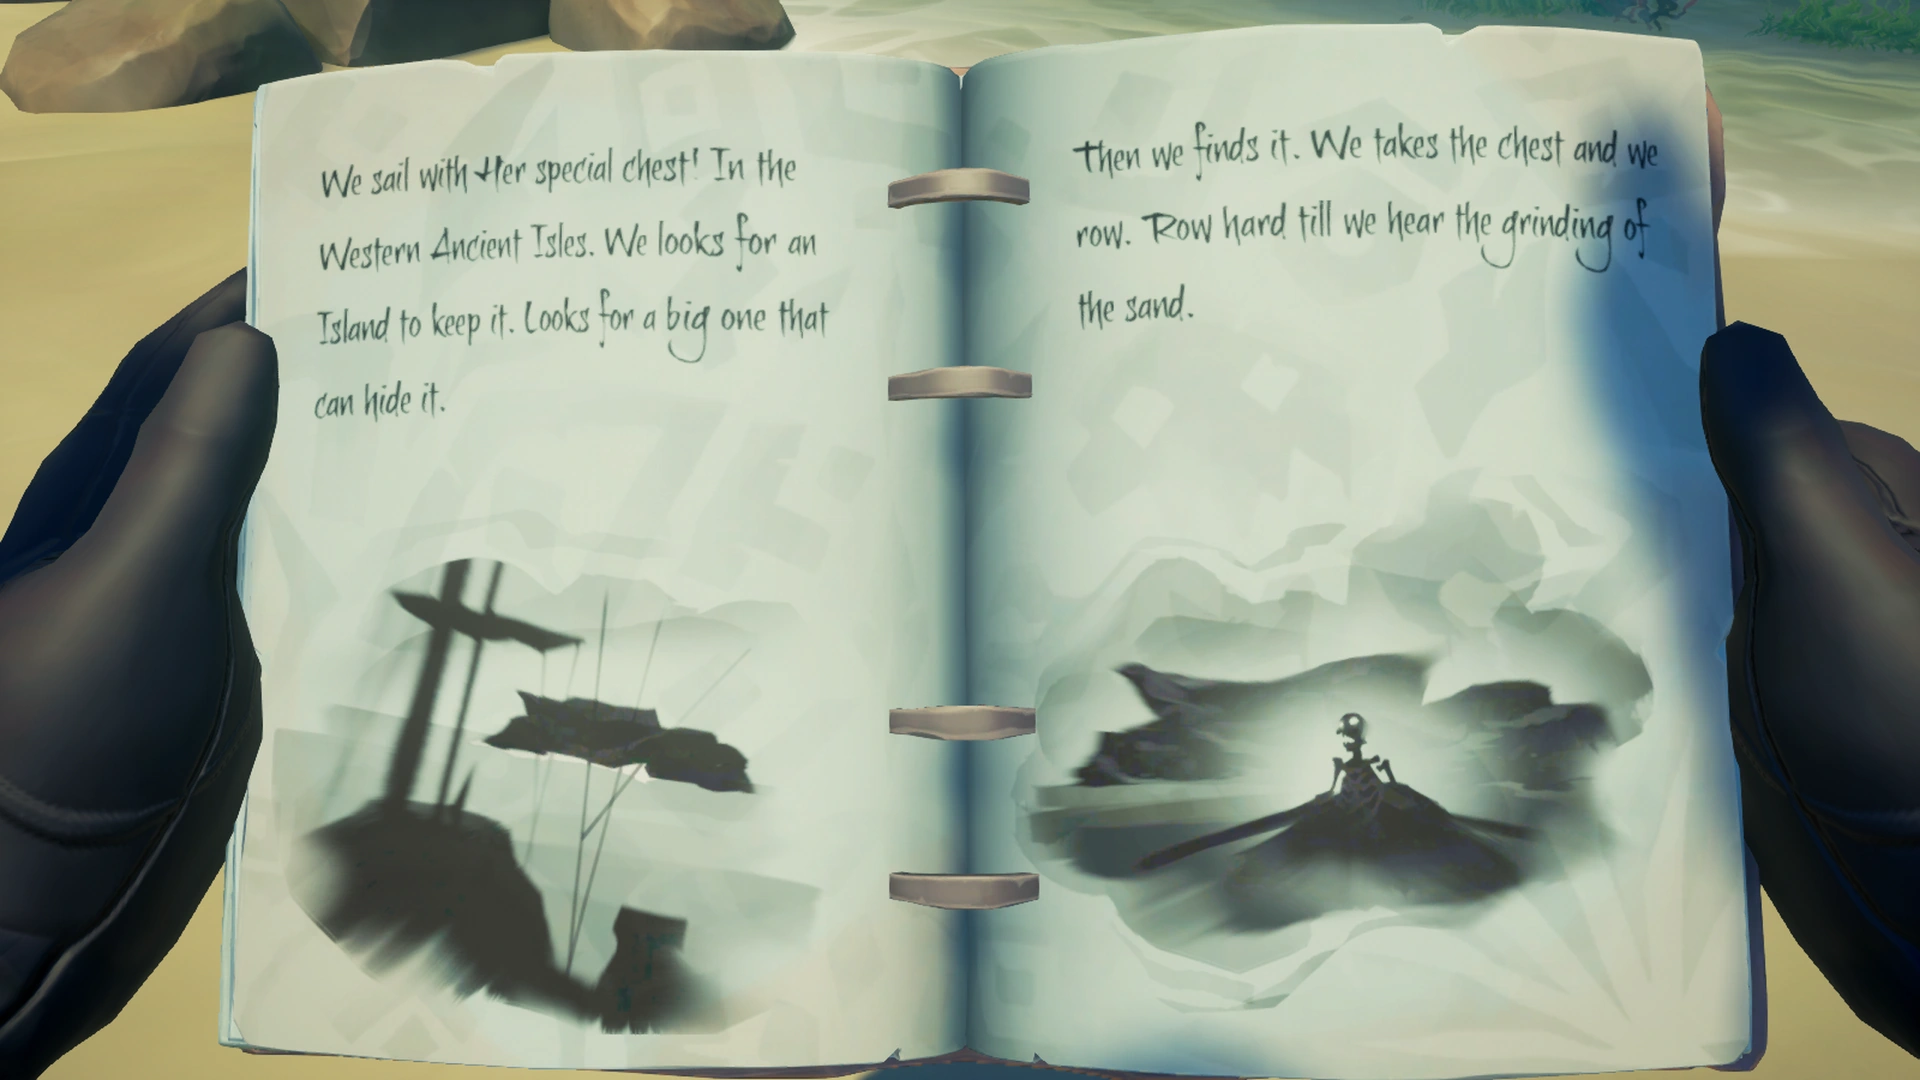
Chronicle of Forgotten Lives details the memories of Blackheart Bill and Captain Marrow, two skeletons in Briggsy's crew that hid the Skeleton Chest containing the Skeleton Lord's personal belongings and the Skeleton Key needed to open it. Both items are guarded by Skeleton Captains. At this point, players can choose to recover either the key or the chest first.
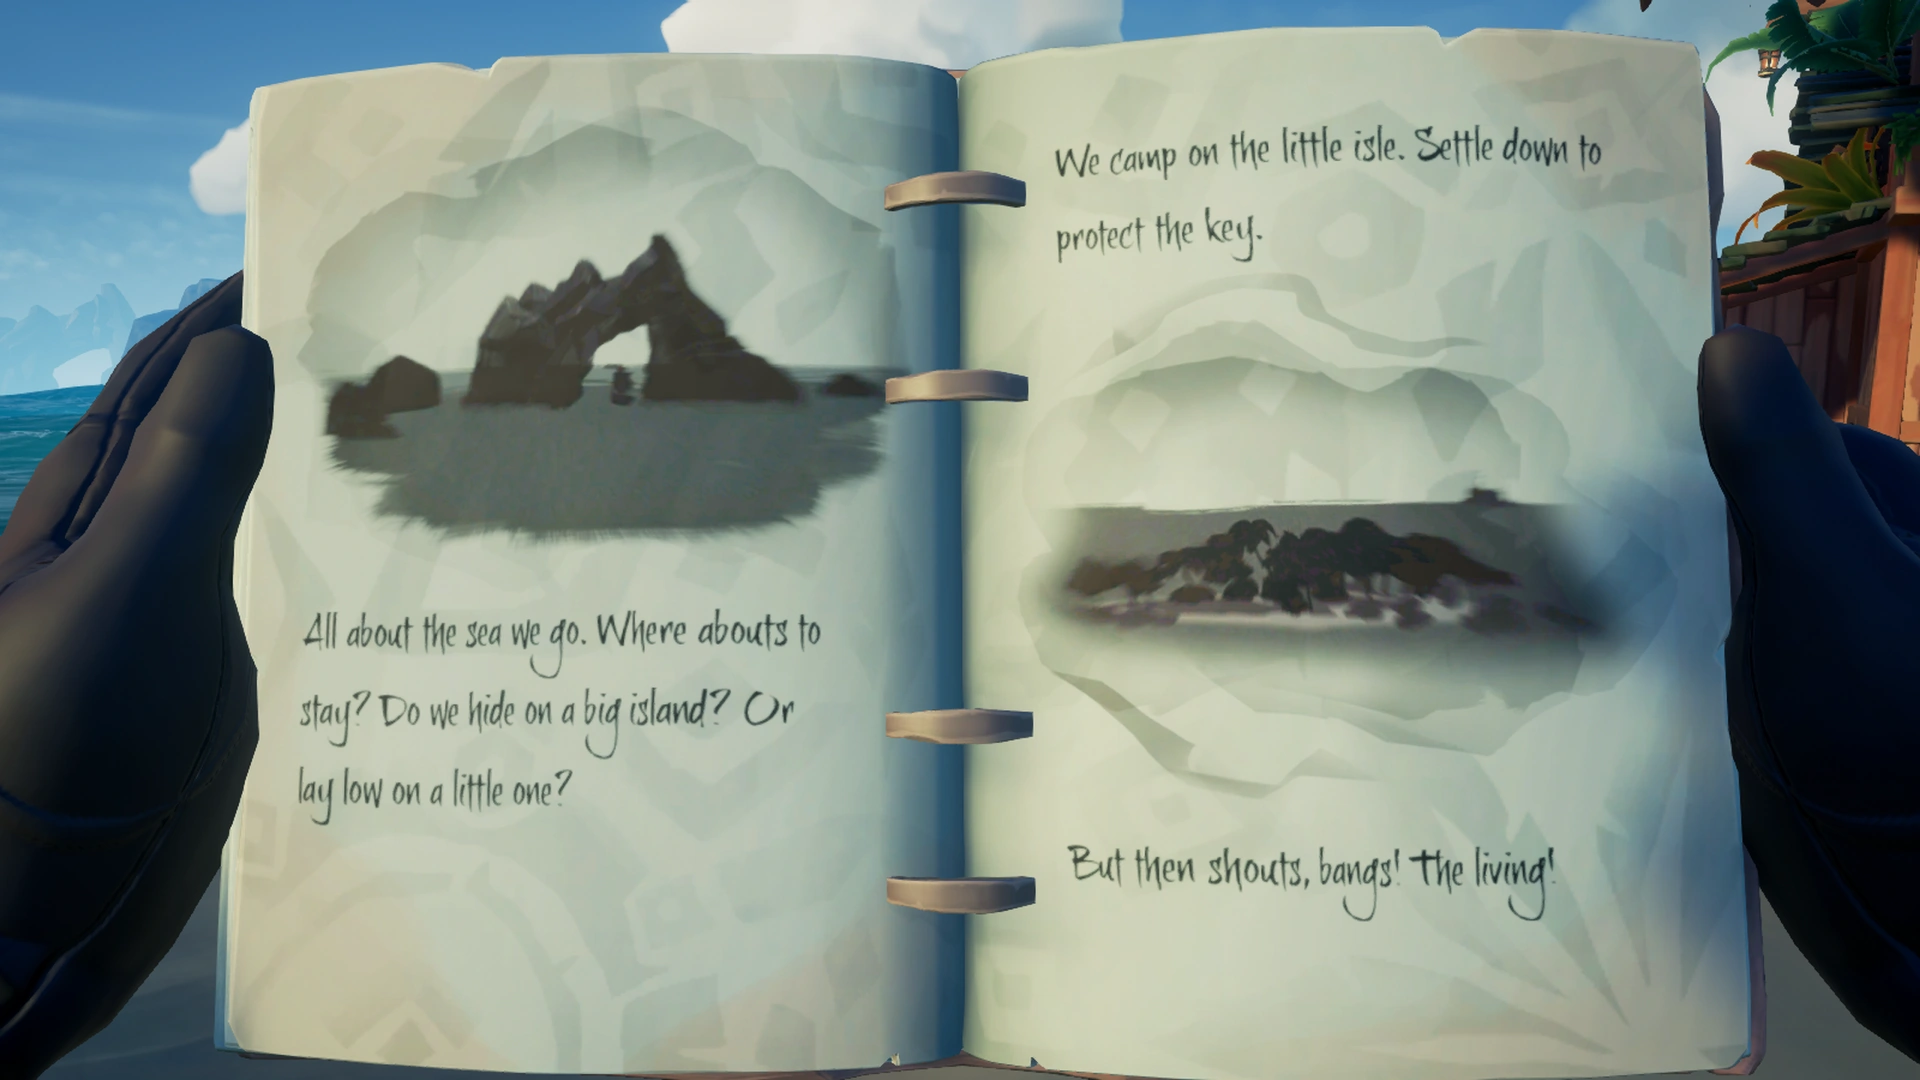
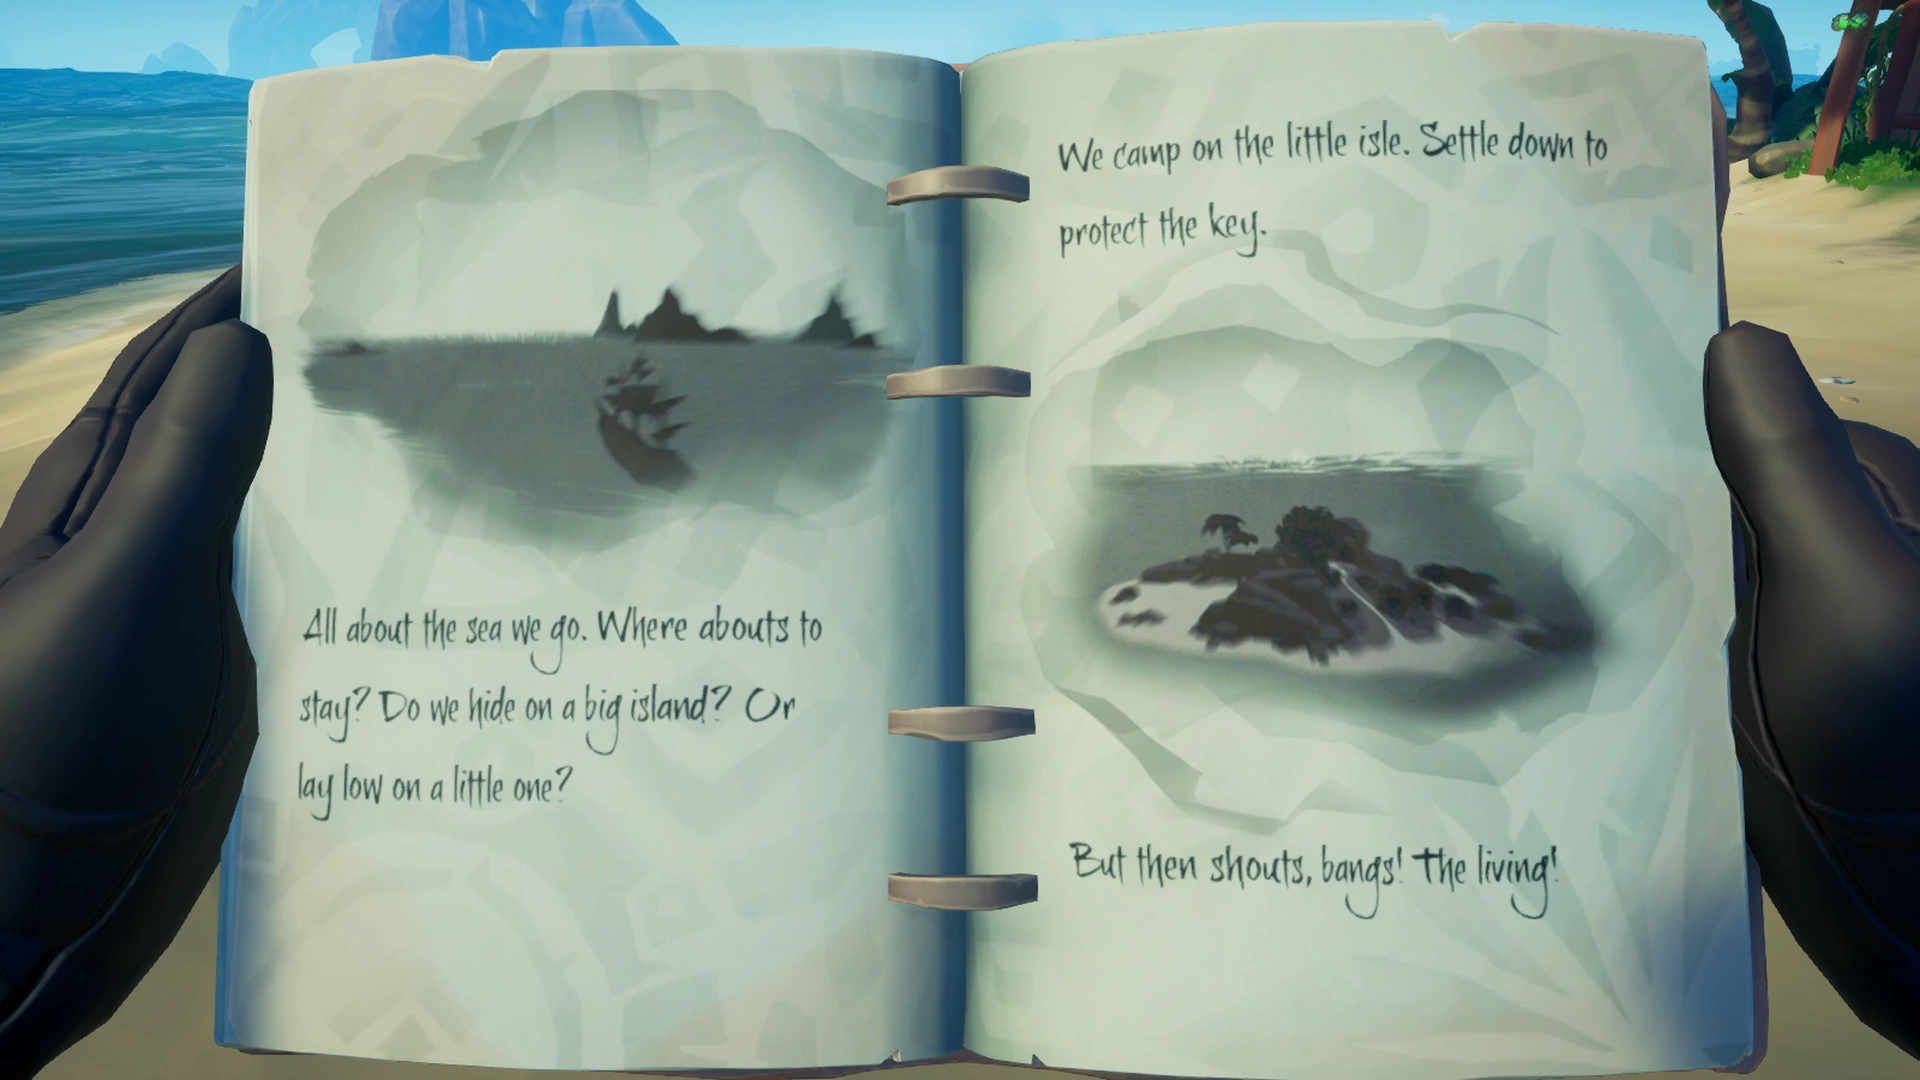
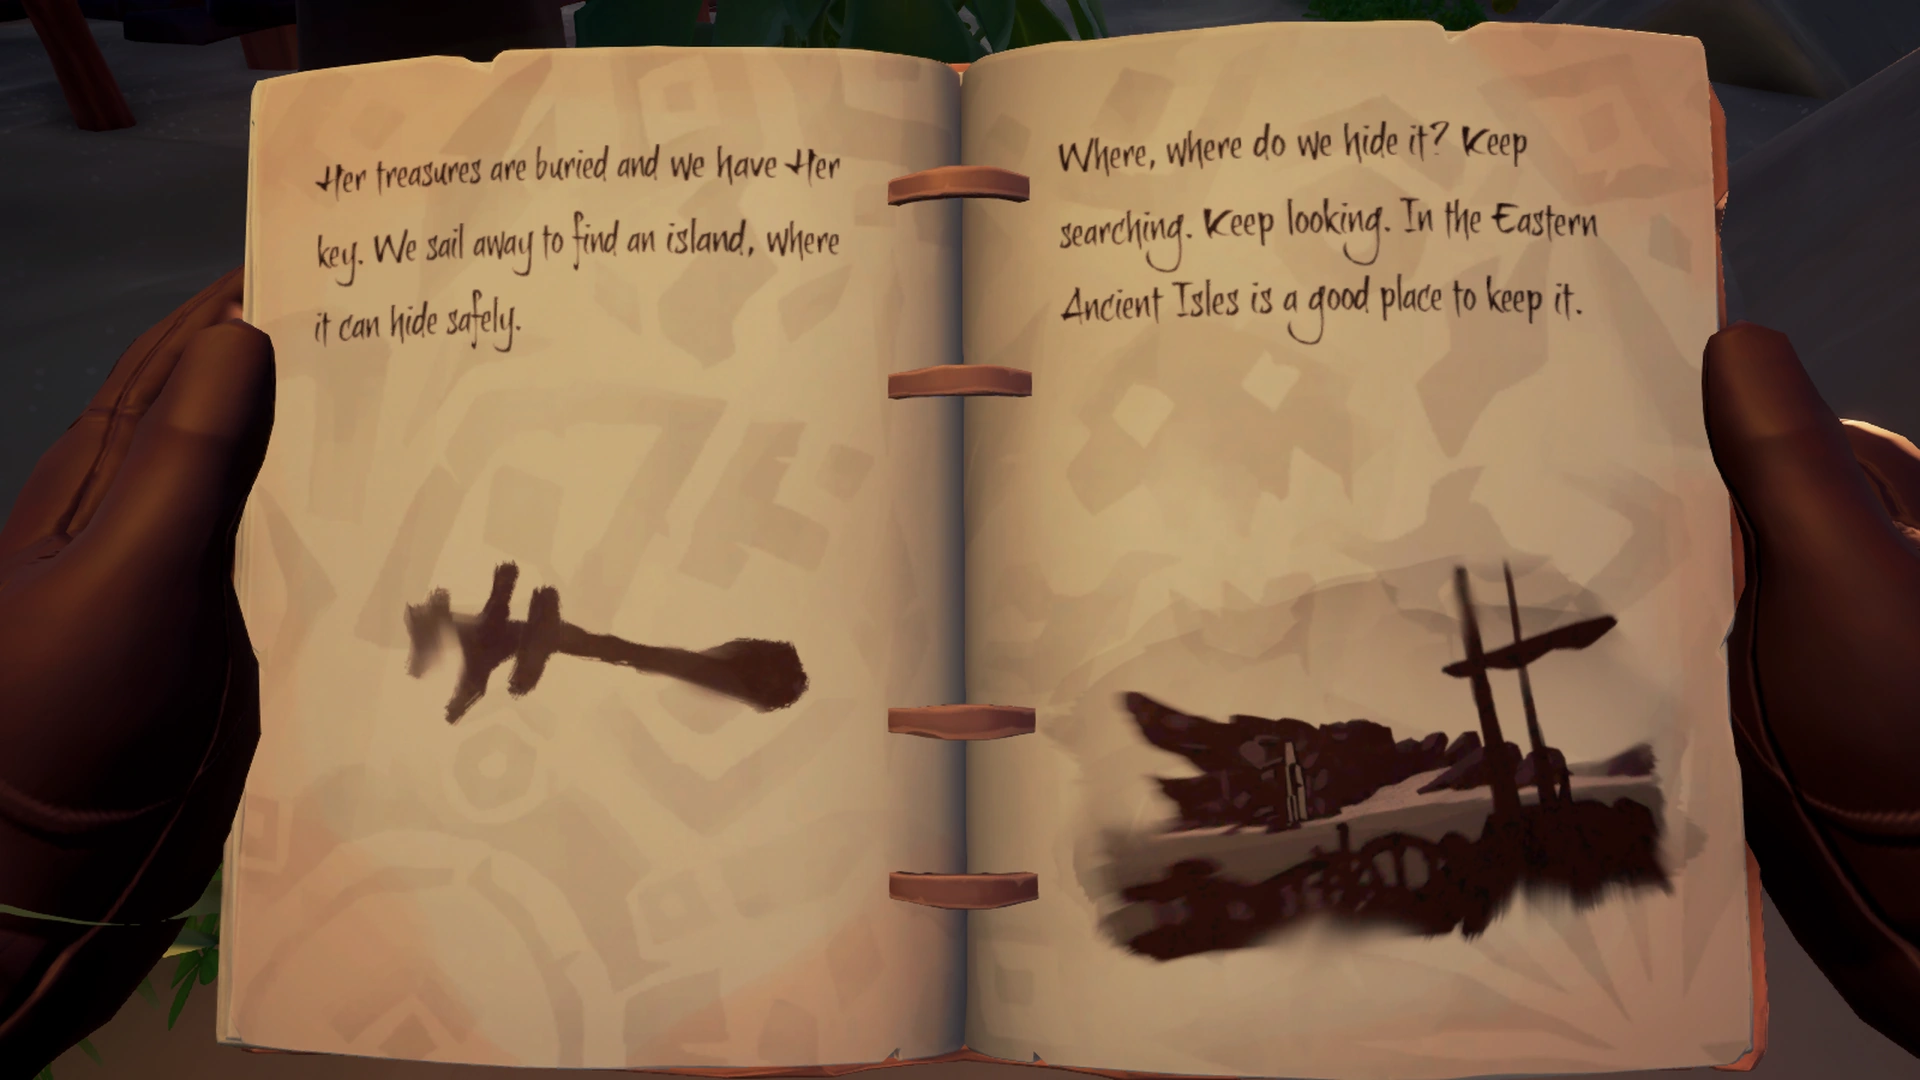
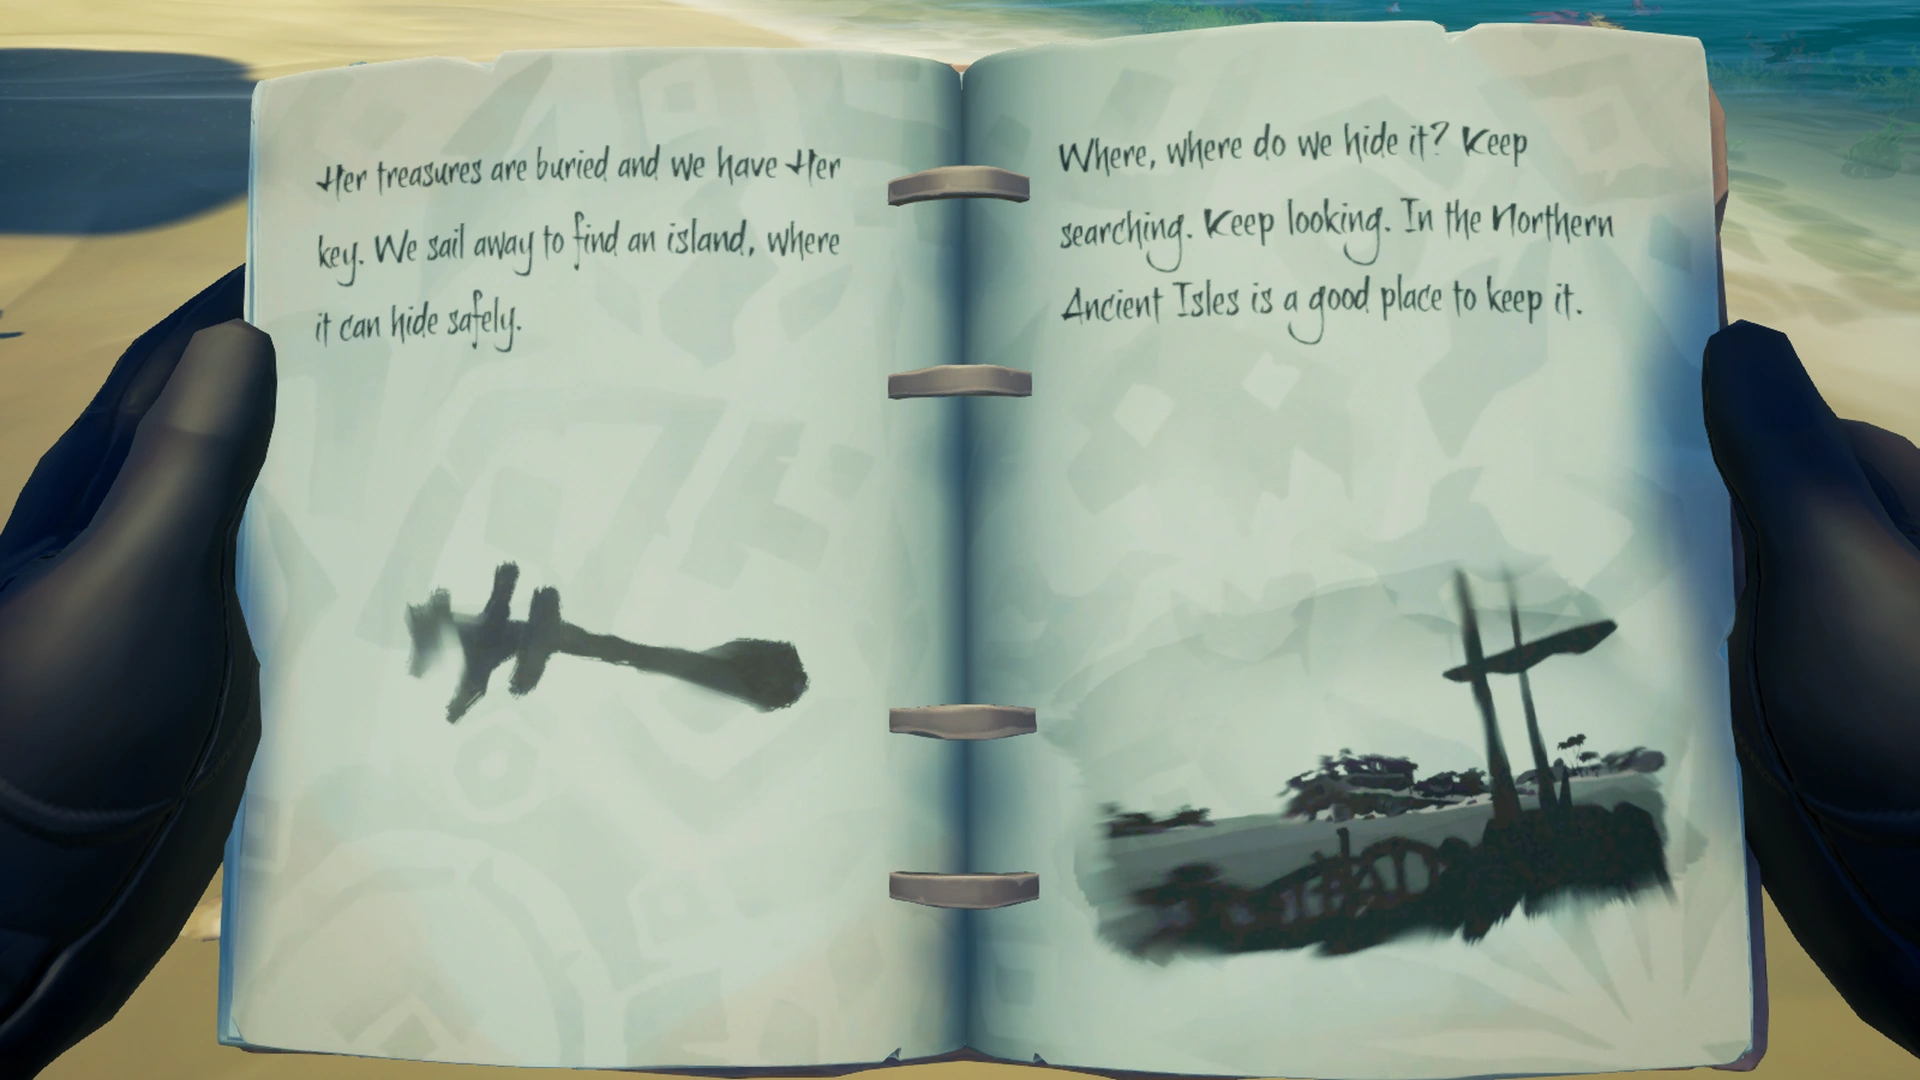
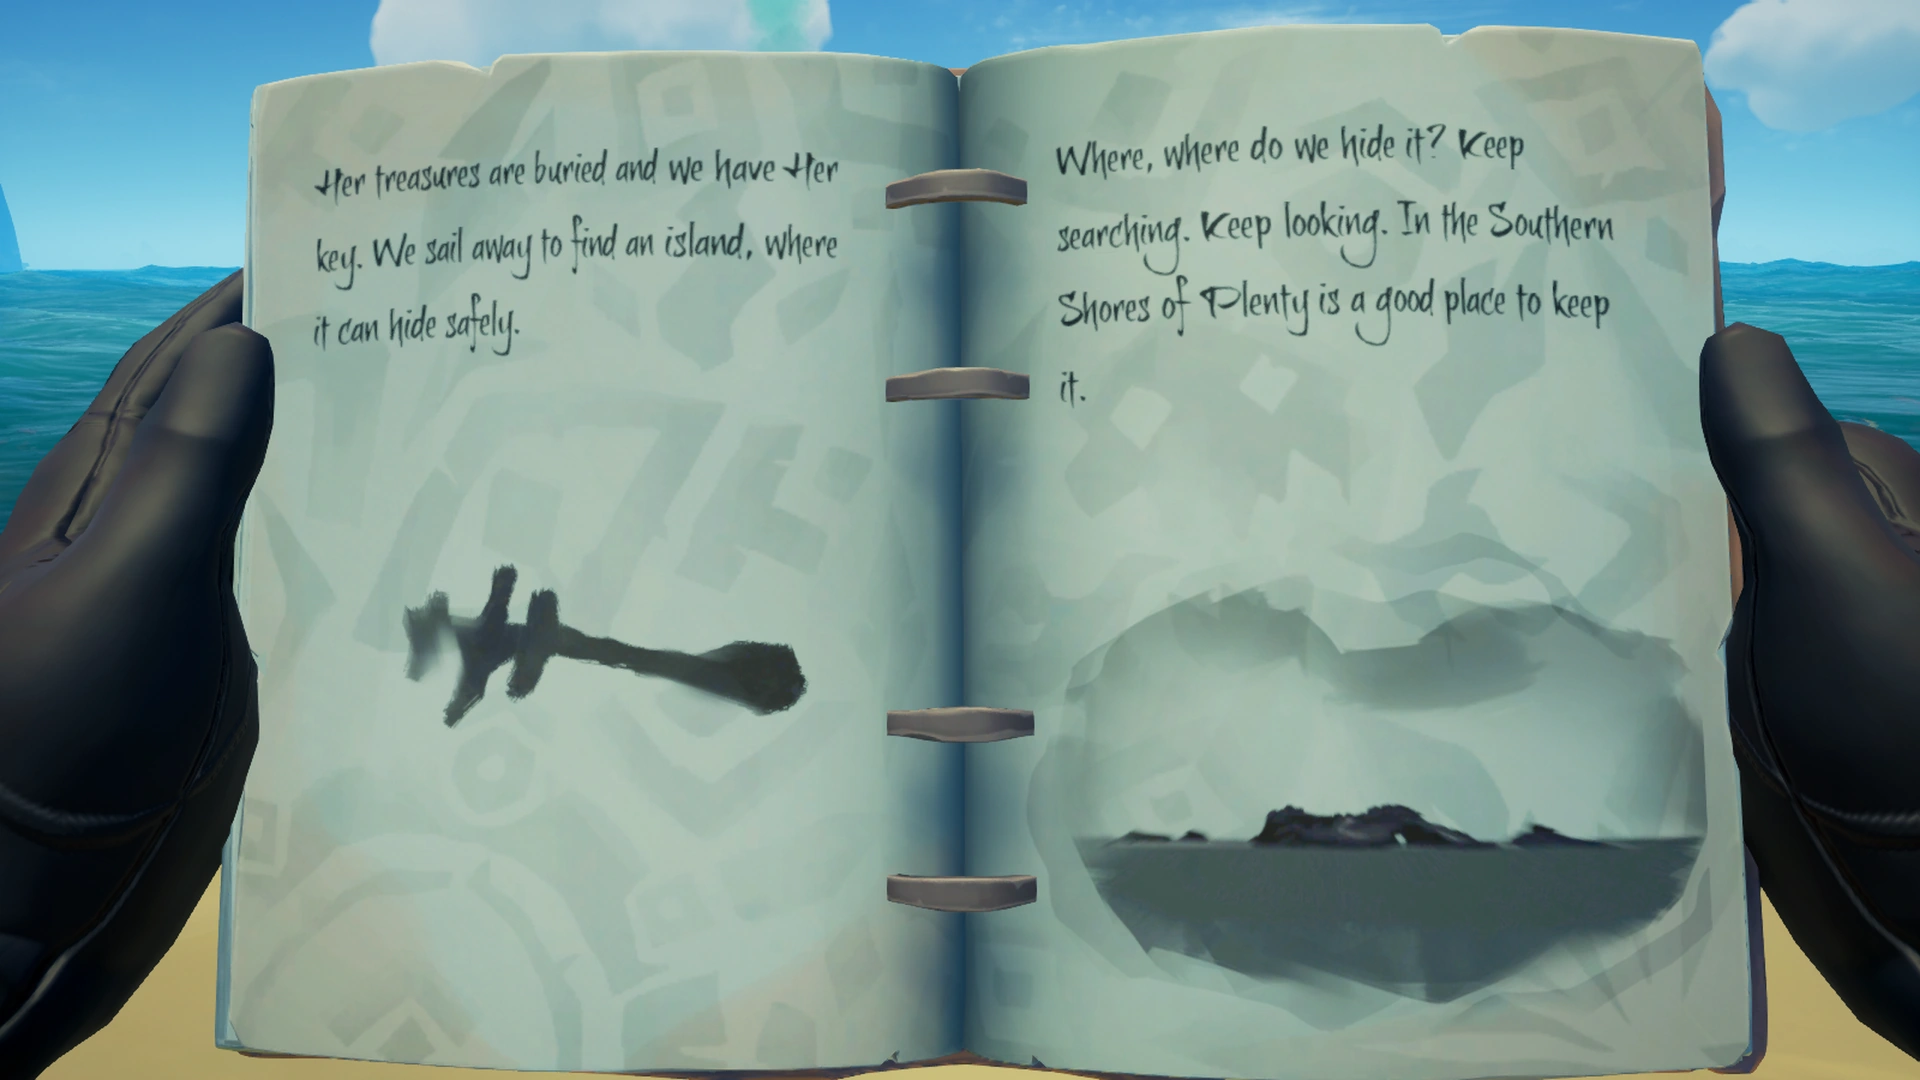
The first several pages of the Tall Tale book are always the same:
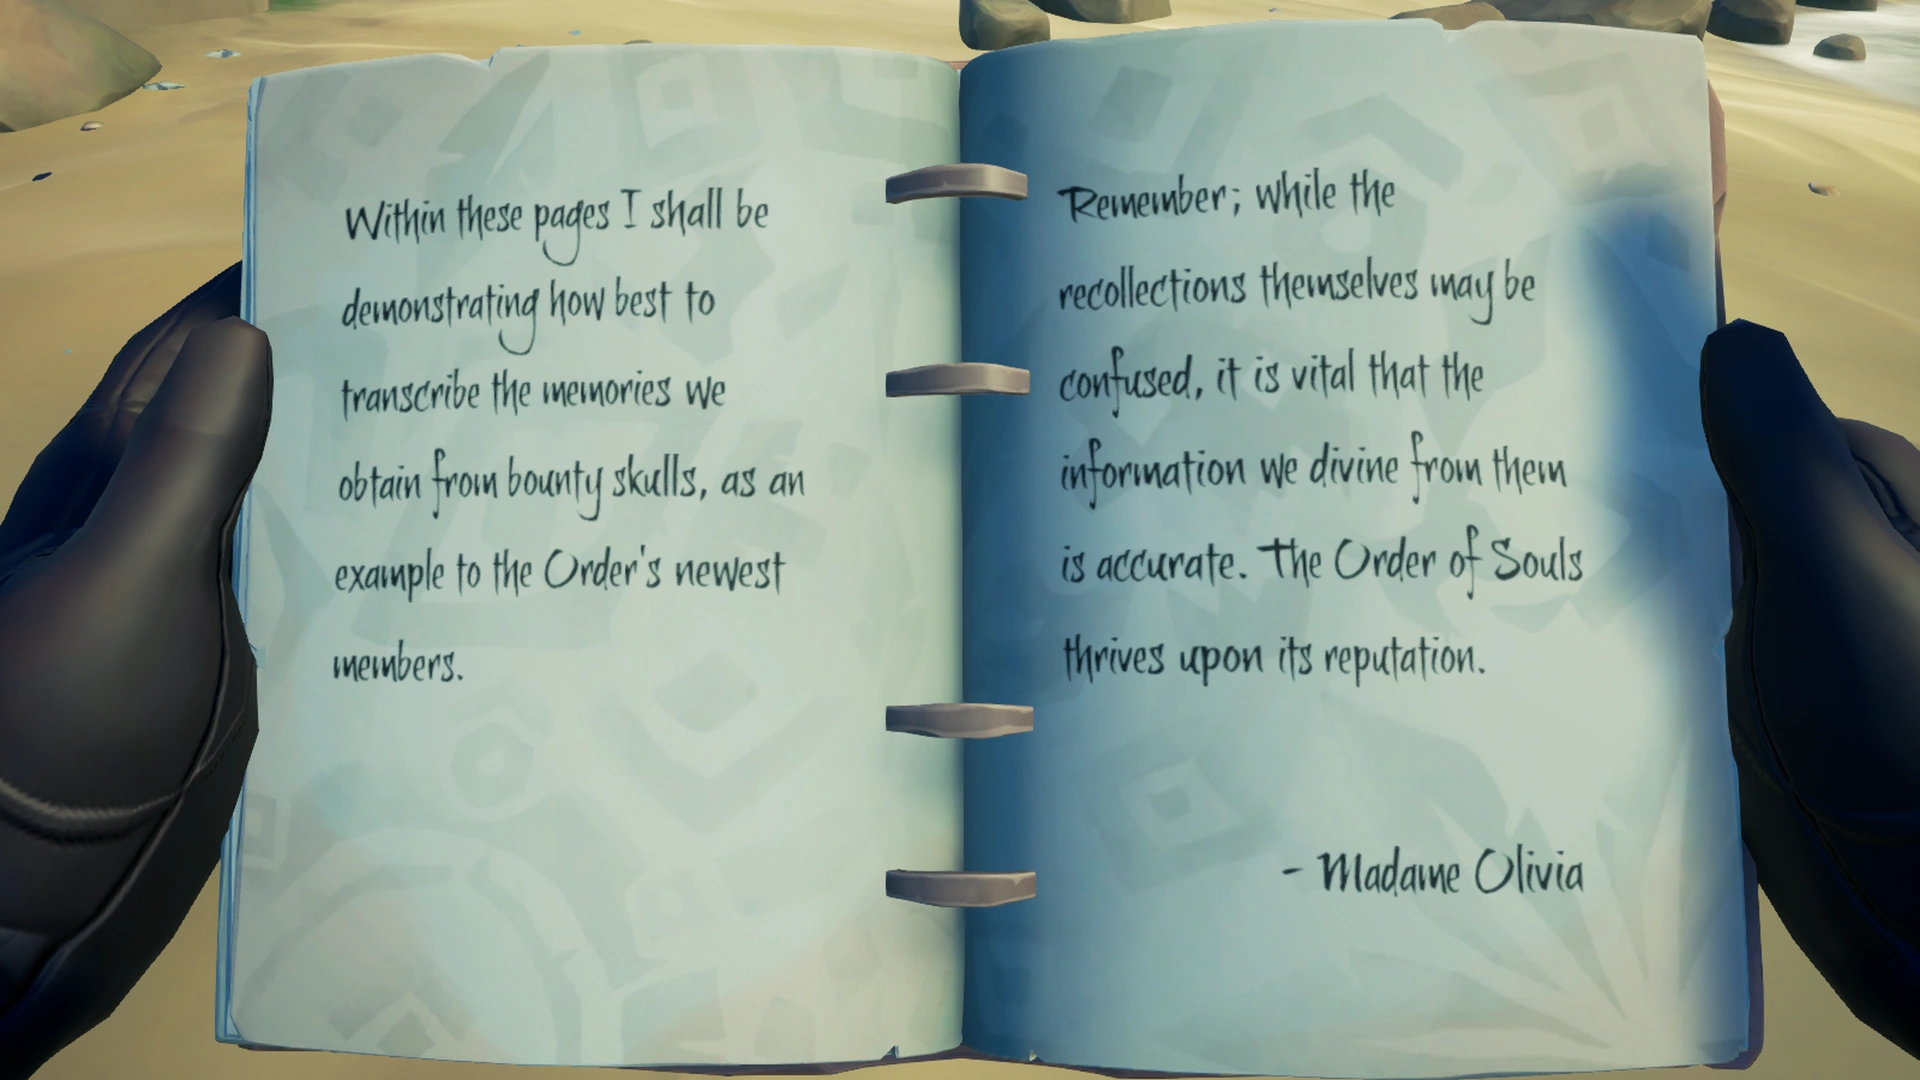
After the book's introduction, the Tale varies from voyage to voyage. The next sections in the Tall Tale book provide hints to the location of both the Skeleton Key and Skeleton Chest .
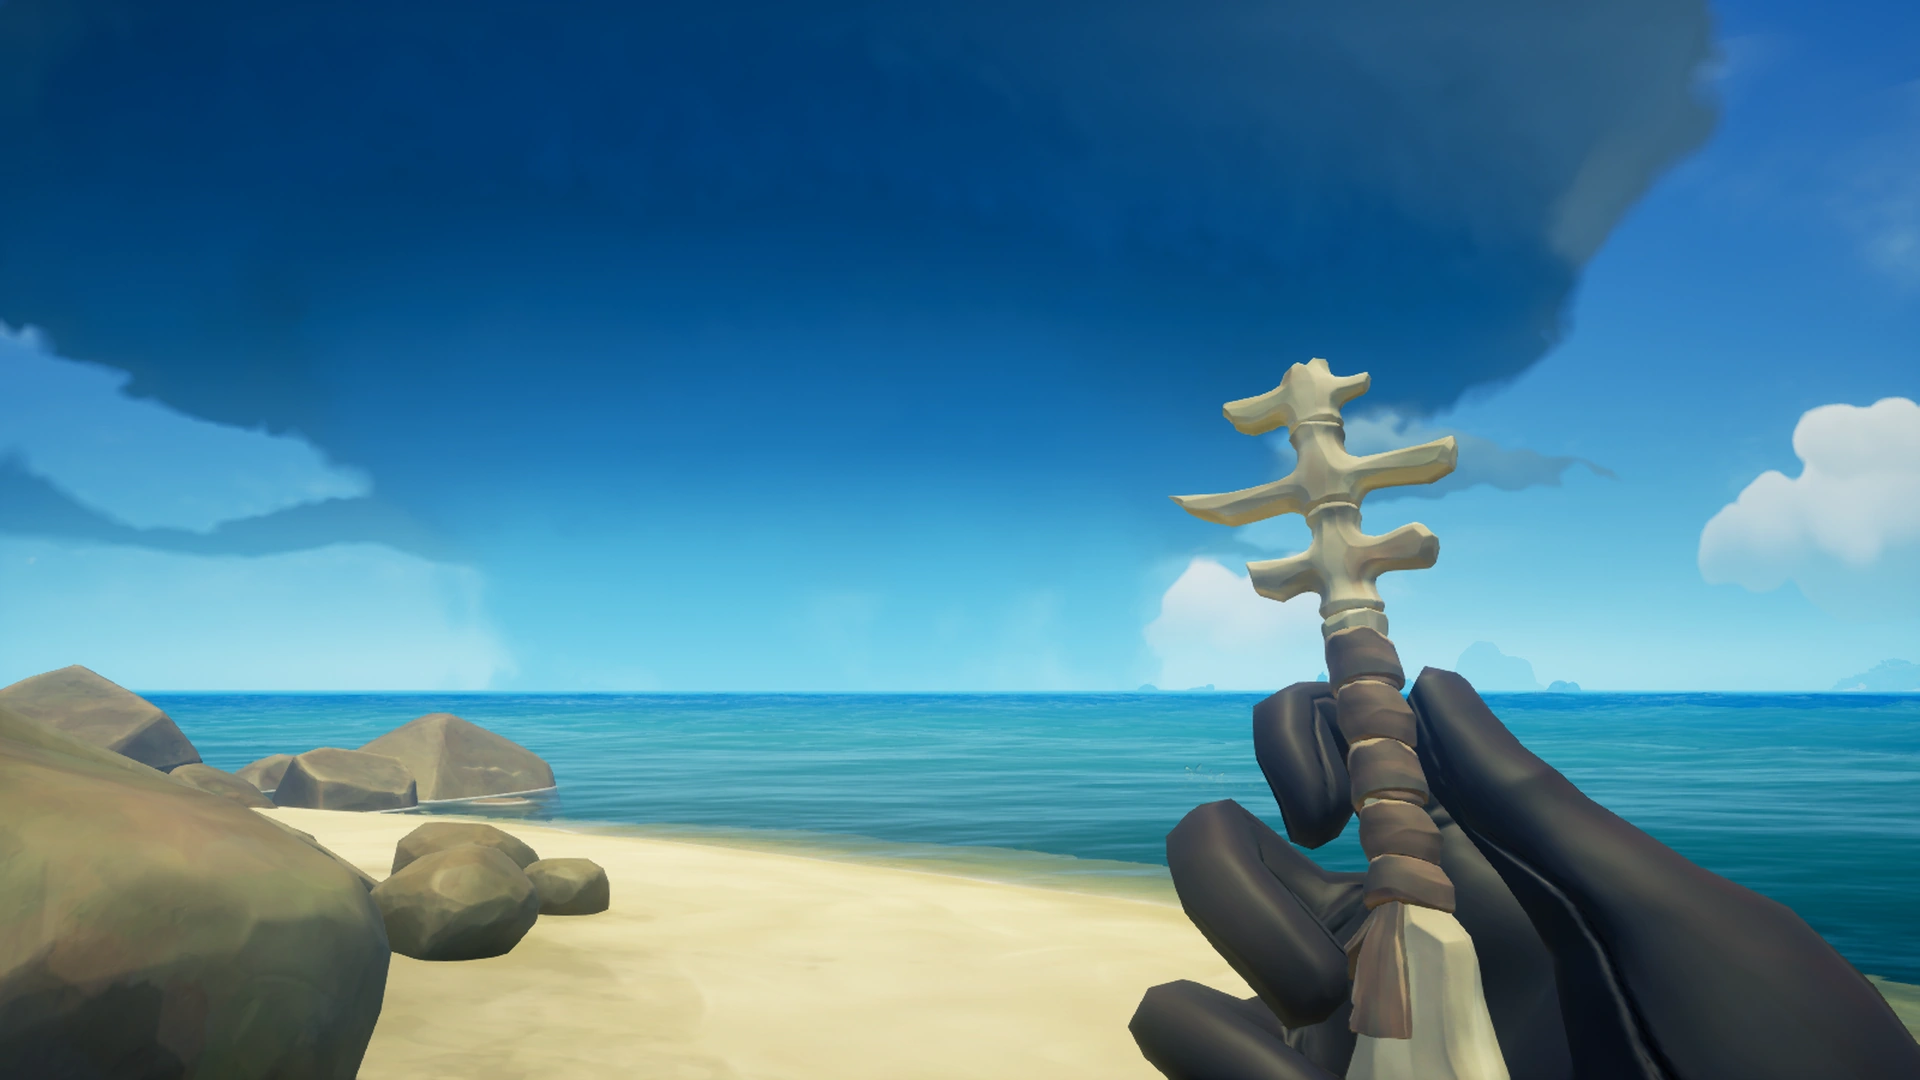
Skeleton Key[]
The section titled "The Memories of Captain Marrow" will depict a location where players can find the Skeleton Key needed to open the Skeleton Chest containing Captain Briggsy's possessions. Players must fight a Skeleton Captain named Captain Avery and his minions to get hold of the Key. The key drops when Captain Avery is defeated.
Below are the possible locations of Captain Avery and the Skeleton Key.
| Castaway Isle | |
| Barnacle Cay | |
| Devil's Ridge | |
| Shark Bait Cove | |
| Snake Island | |
| Wanderers Refuge |


SKELETON KEY GUARDS
STAN
'Ere, how comes I gots to keep watch again? Stan always keeps watch, all the time. Not fair.
-
-
-
-
JONES
Oh yeah? If you was keeping watch proper, them fleshies wouldn't have found our camp!
-
-
-
-
STAN
An' if you knew how to shoot straight, Marrow might still be here, then 'e could keep watch!
-
-
-
-
JONES
Filth-tongue! Jones is the sharpest at shooting. That's why Briggsy likes Jones best.
STAN
Then why ain't Jones Captain? Because Briggsy knows yer too stupid!
CAPTAIN AVERY
You both ain't captain, right, because that's me! That's why I get the shiny-shiny key.
Now shut yer stinkin' skulls before we gets heard like the last time!
If any fleshies take her treasure, Lord Briggsy'll grind us to powder.
JONES
Naawww, no fleshie'd be daft enough to fight Briggsy. She'd mutalise 'em!
CAPTAIN AVERY
Just 'cos they still got brains in their 'eads doesn't mean they ever use 'em. Now QUIET!
Skeleton Chest[]
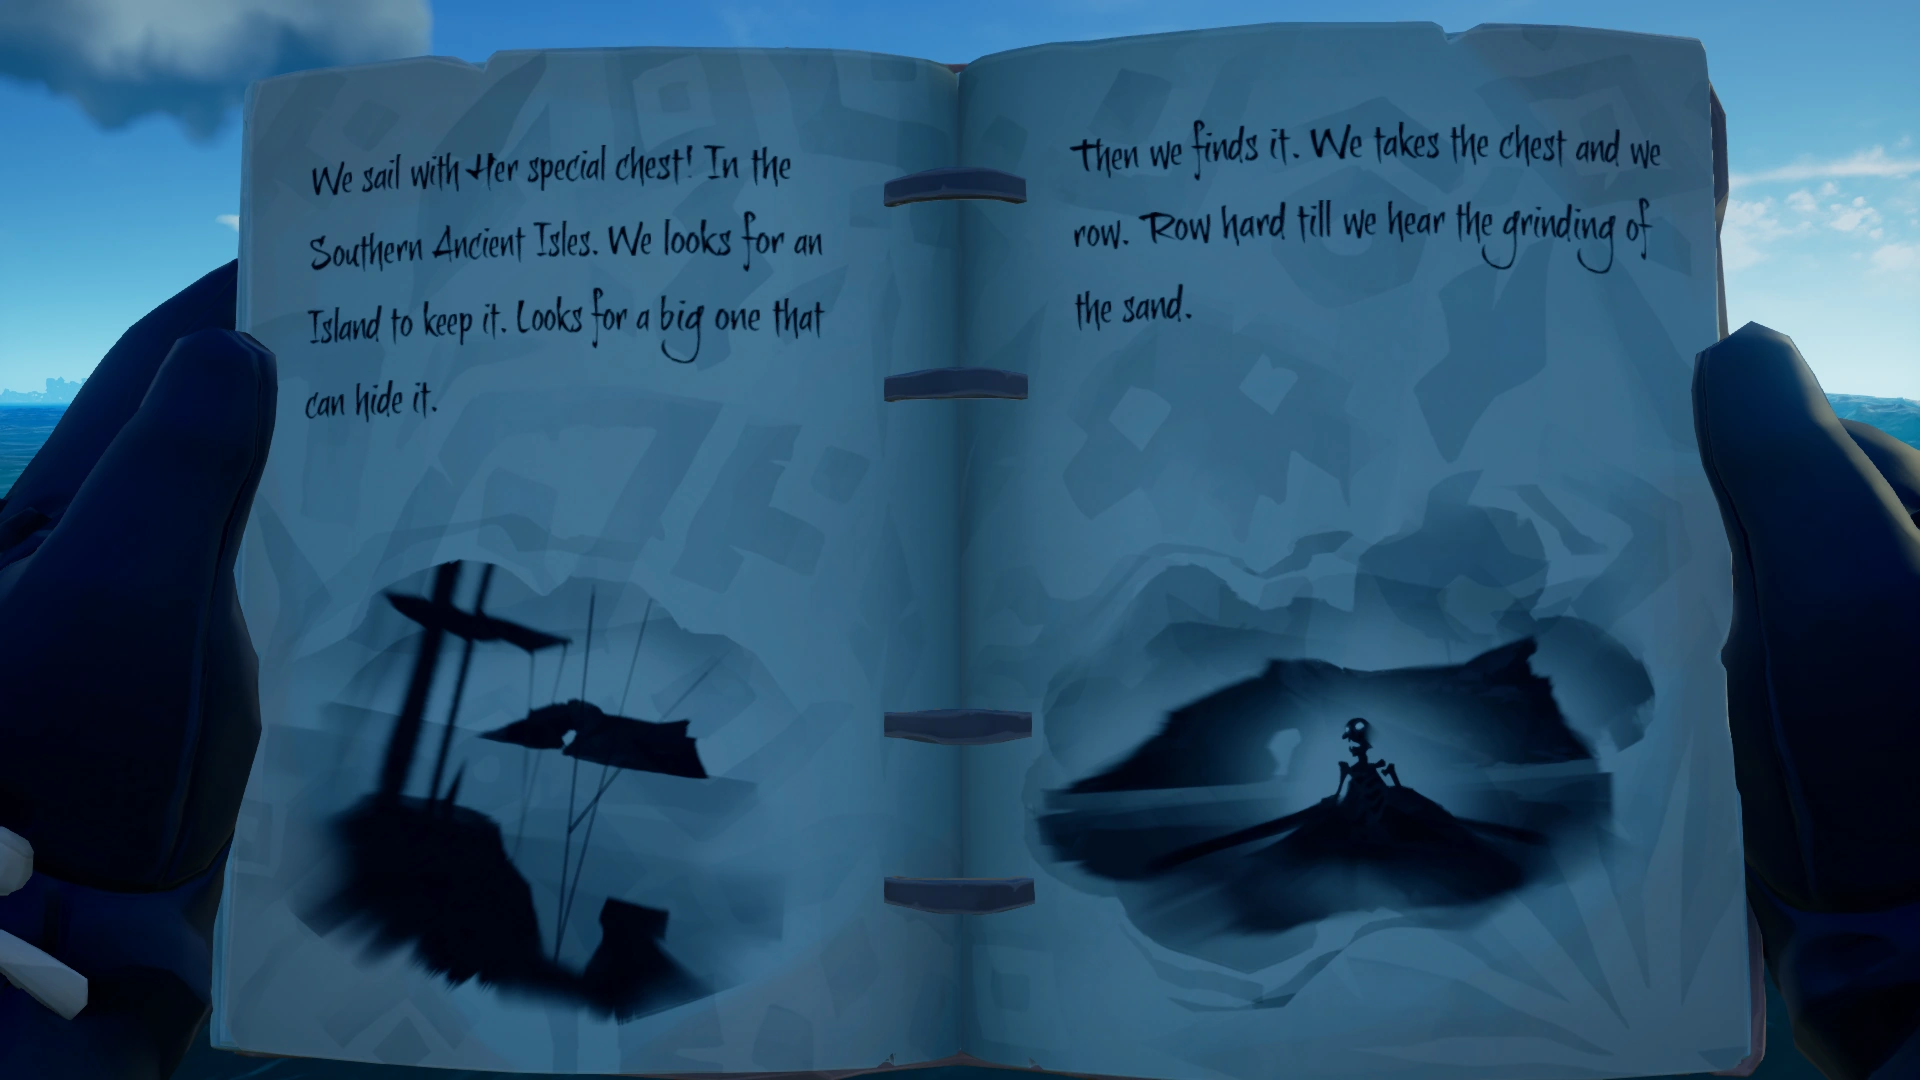
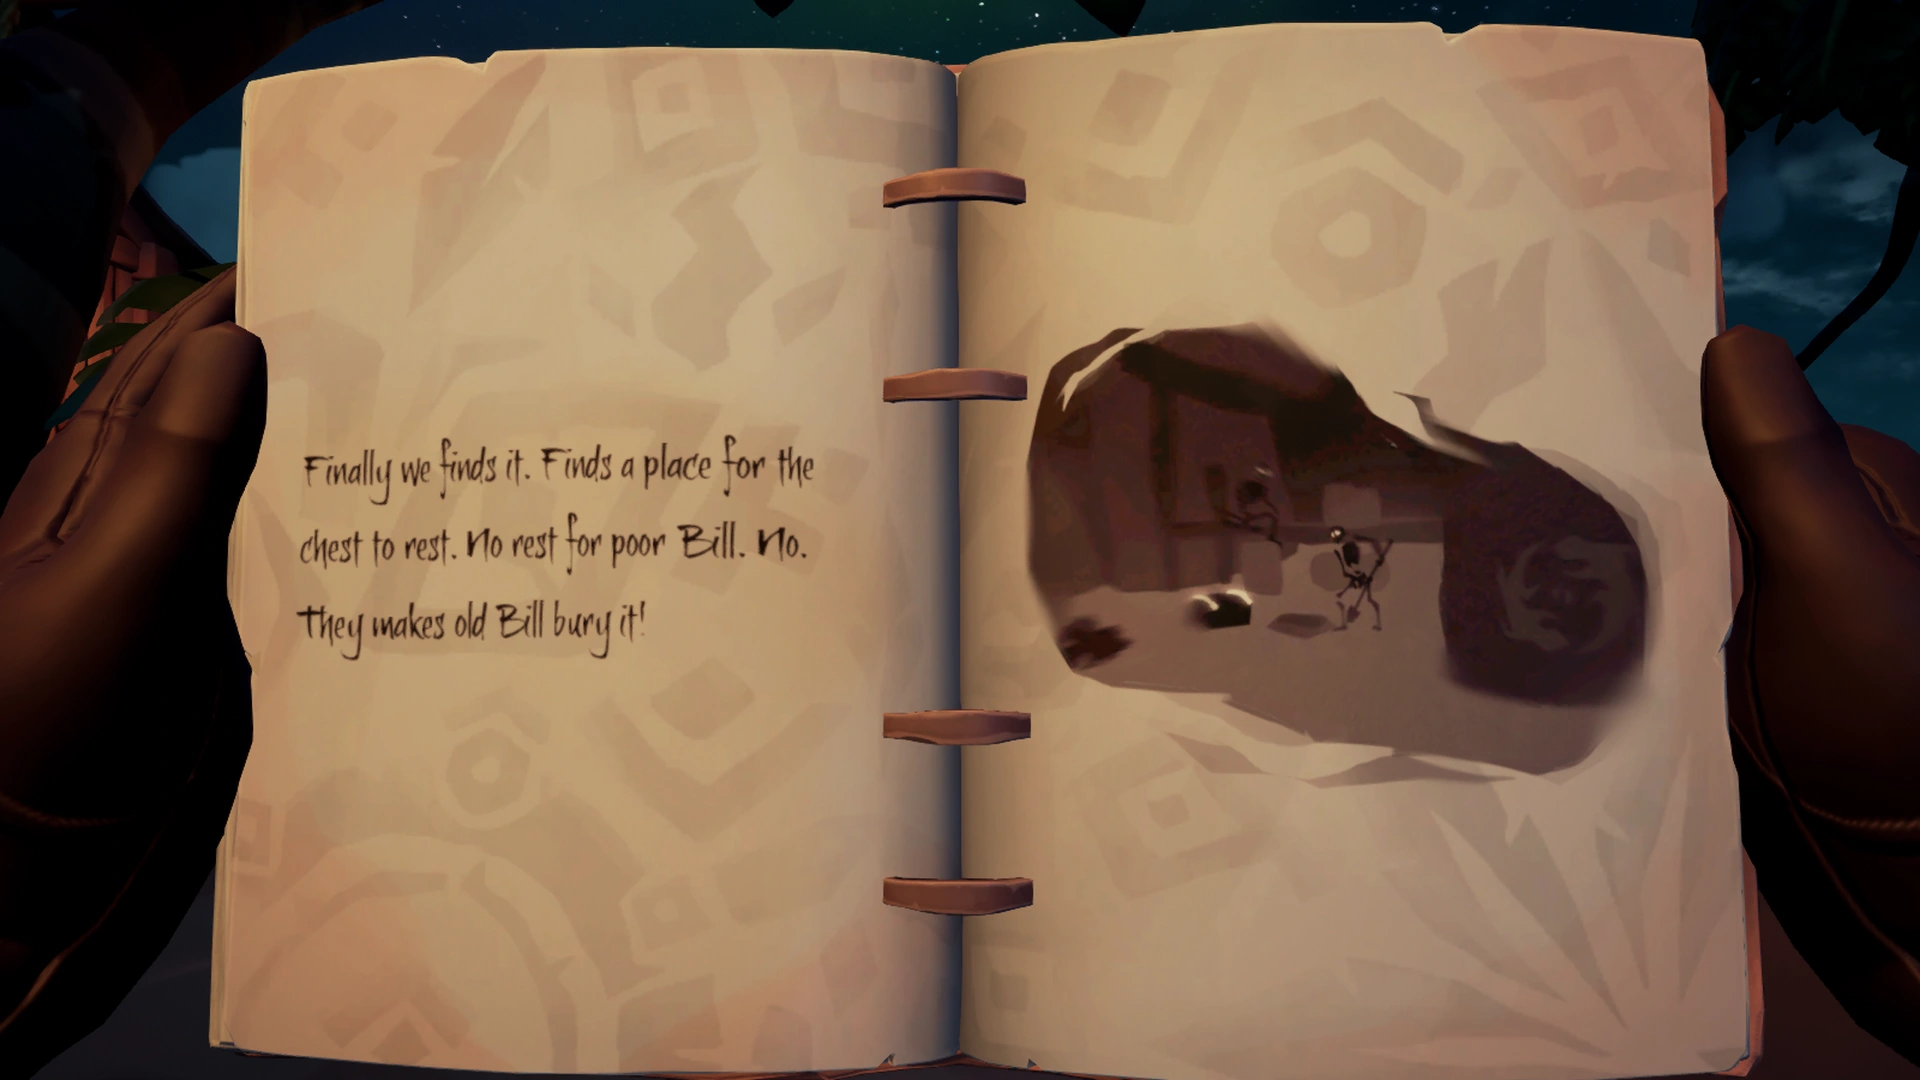
The section titled "The memories of Blackheart Bill" in the Tall Tale book will depict a location in the Ancient Isles where you can find the chest. You will be fighting Captain Blake and a few minions again so bring some health items and head to one of the locations as indicated below. You will need to dig up the chest where the captain and crew were sitting before you so rudely interrupted their conversation.
| Crook's Hollow | |
| Discovery Ridge | |
| Lookout Point | |
| Mutineer Rock | |
| Plunder Valley | |
| Thieves' Haven |


SKELETON CHEST GUARDS
MOLLY
So, captain, how many years since asking a question?
-
-
-
-
GOLD TOOTH
Not another question! It's like being back at school.
-
-
-
-
MOLLY
Molly weren't talking to you, Gold Tooth. An' when did you ever goes to school anyway?
-
-
-
-
GOLD TOOTH
I wents t' school! I wents almost every day.
MOLLY
You did? Really?
GOLD TOOTH
Well I had to, dint I? There was lots to steal and I only had little hands.
CAPTAIN BLAKE
What you askin' me now, Molly?
MOLLY
D…d'you ever think about being it? Being alive, I mean? Cos Briggsy says there's a cure-
CAPTAIN BLAKE
There ain't no cure, Molly. How d'you cure being dead - stay inside and keep warm?
Nah, Briggsy's potty. But she's potty and powerful, so you two stays respectful, hear me?
MOLLY
Yeah, but if there was a cure… Would you take it? Become a fleshie again?
CAPTAIN BLAKE
Oh, for… go to sleep, Molly. We've got a chest to guard.
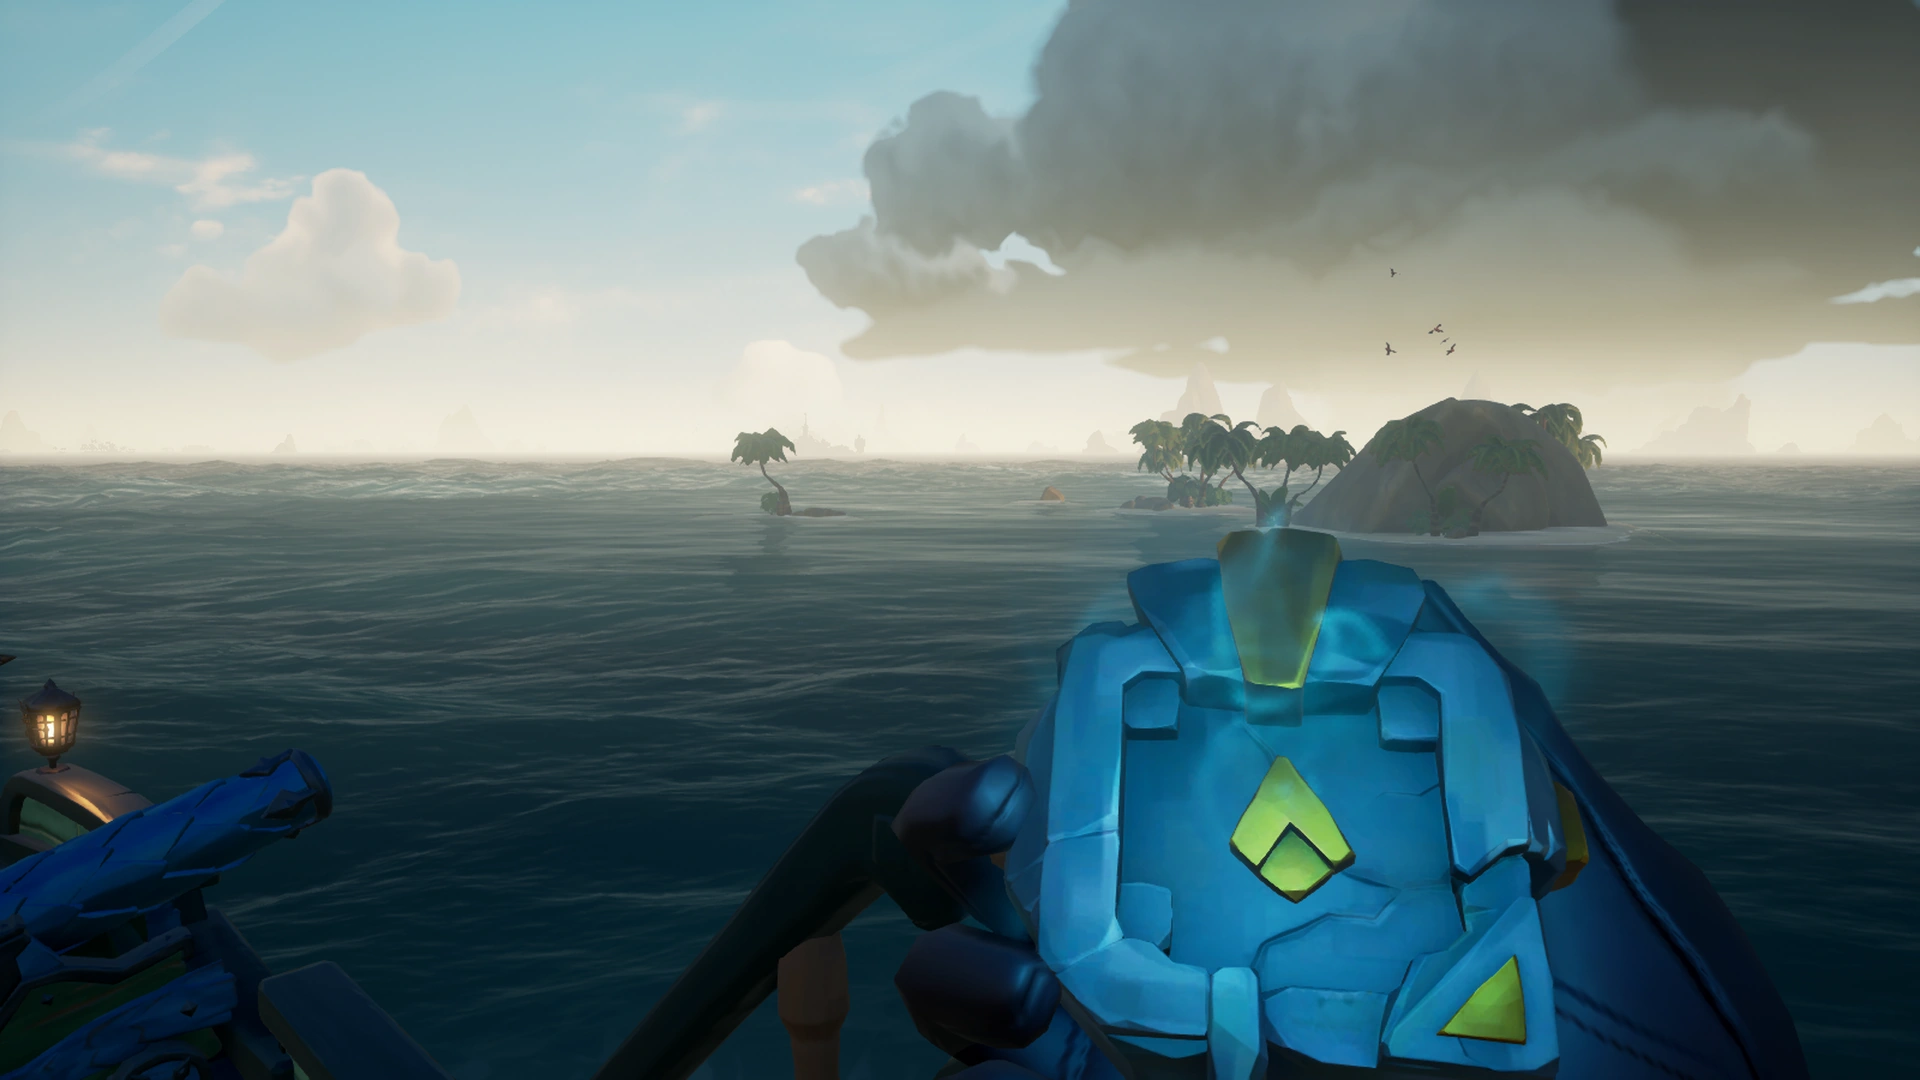
Enchanted Compass[]
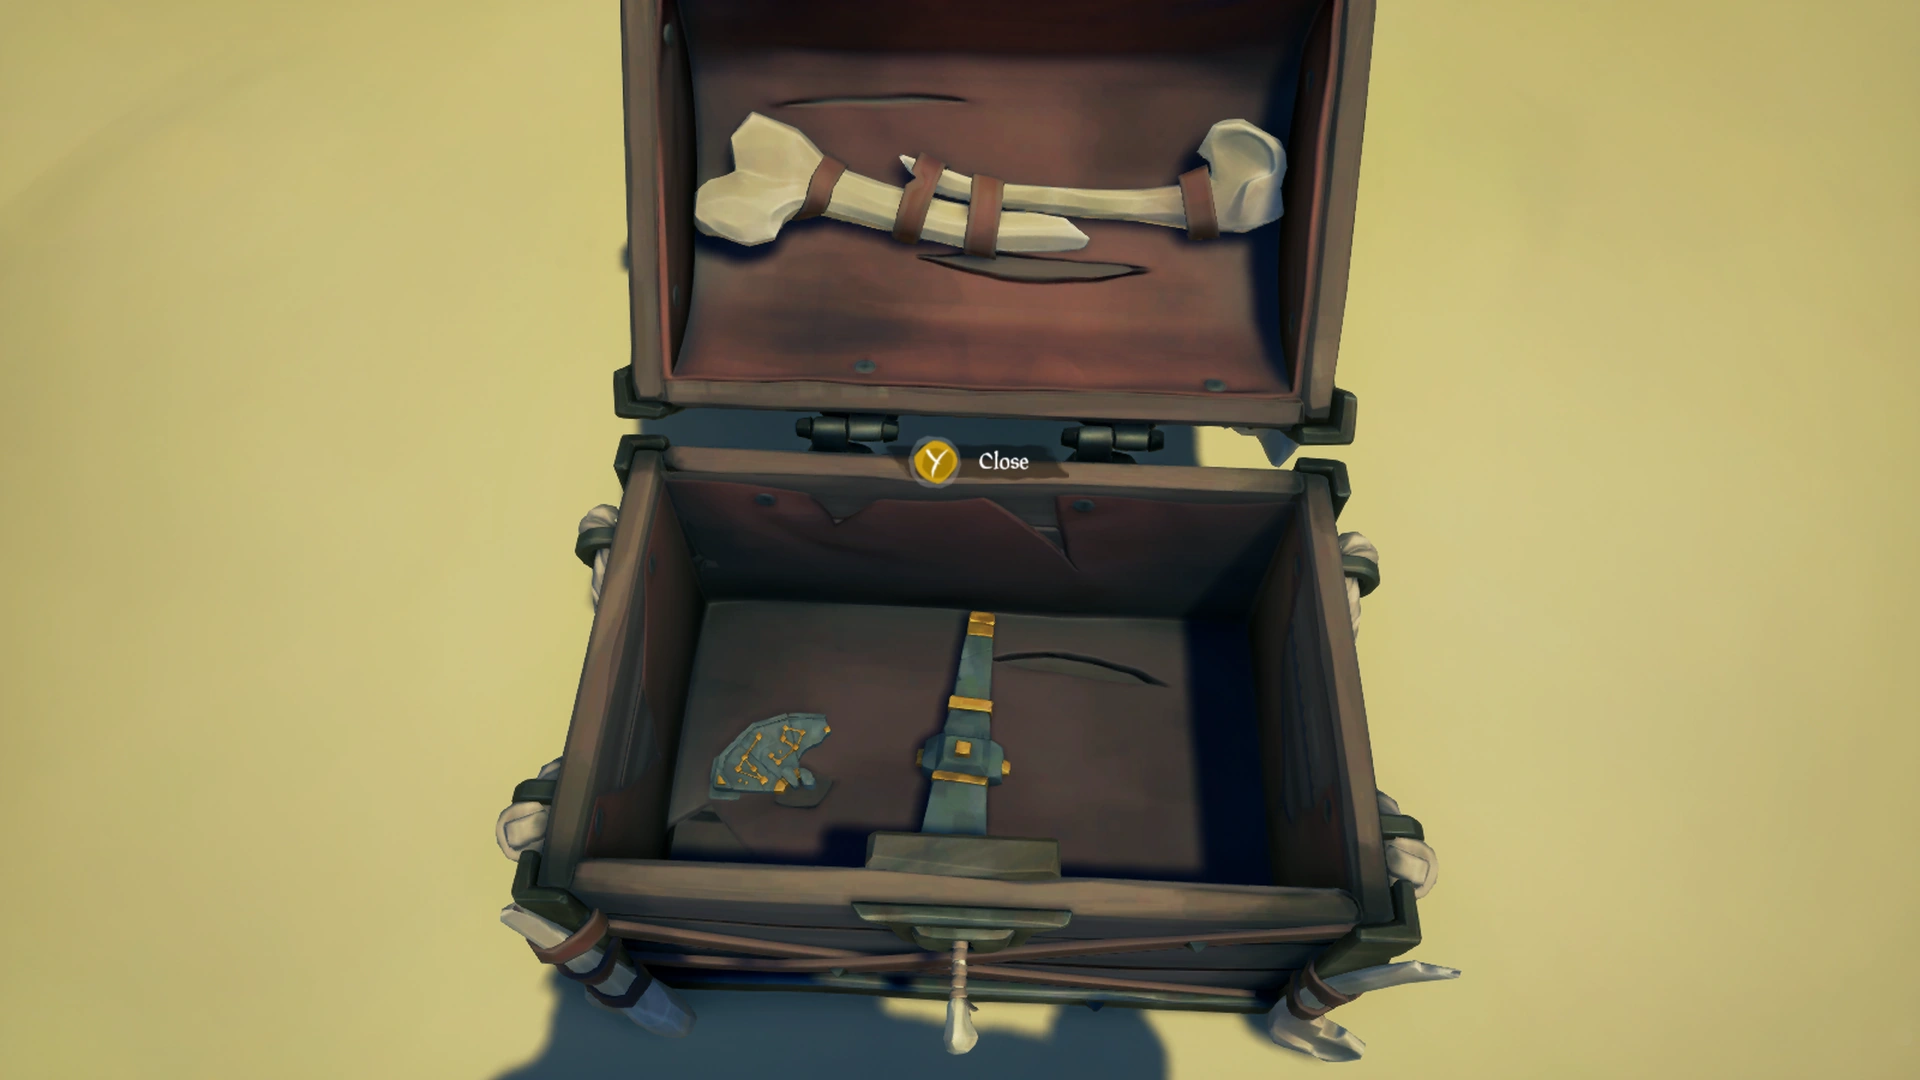
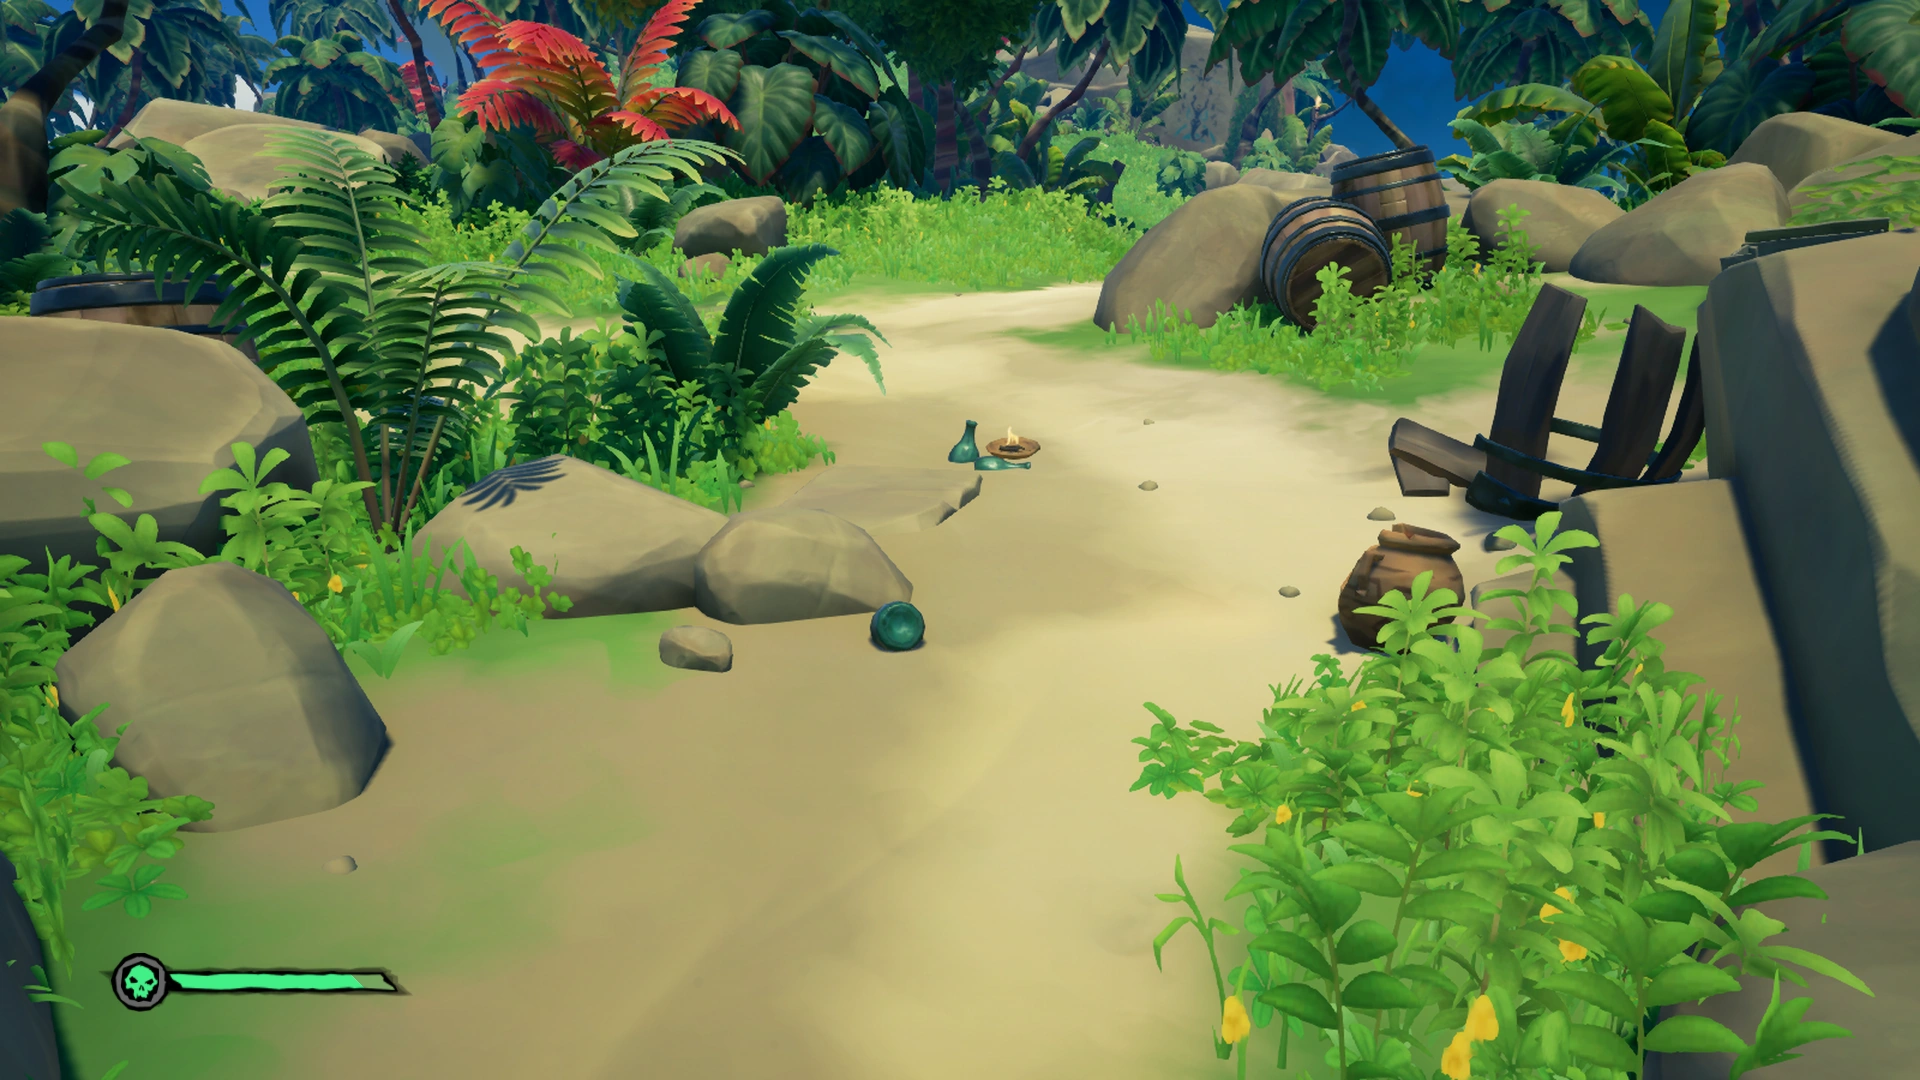
The chest contains a Star Map and a Broken Spyglass, both must be presented to Madame Olivia for her to trans-mutate. After witnessing the true power of the order of souls, you will need to pick up the Enchanted Compass from the table.
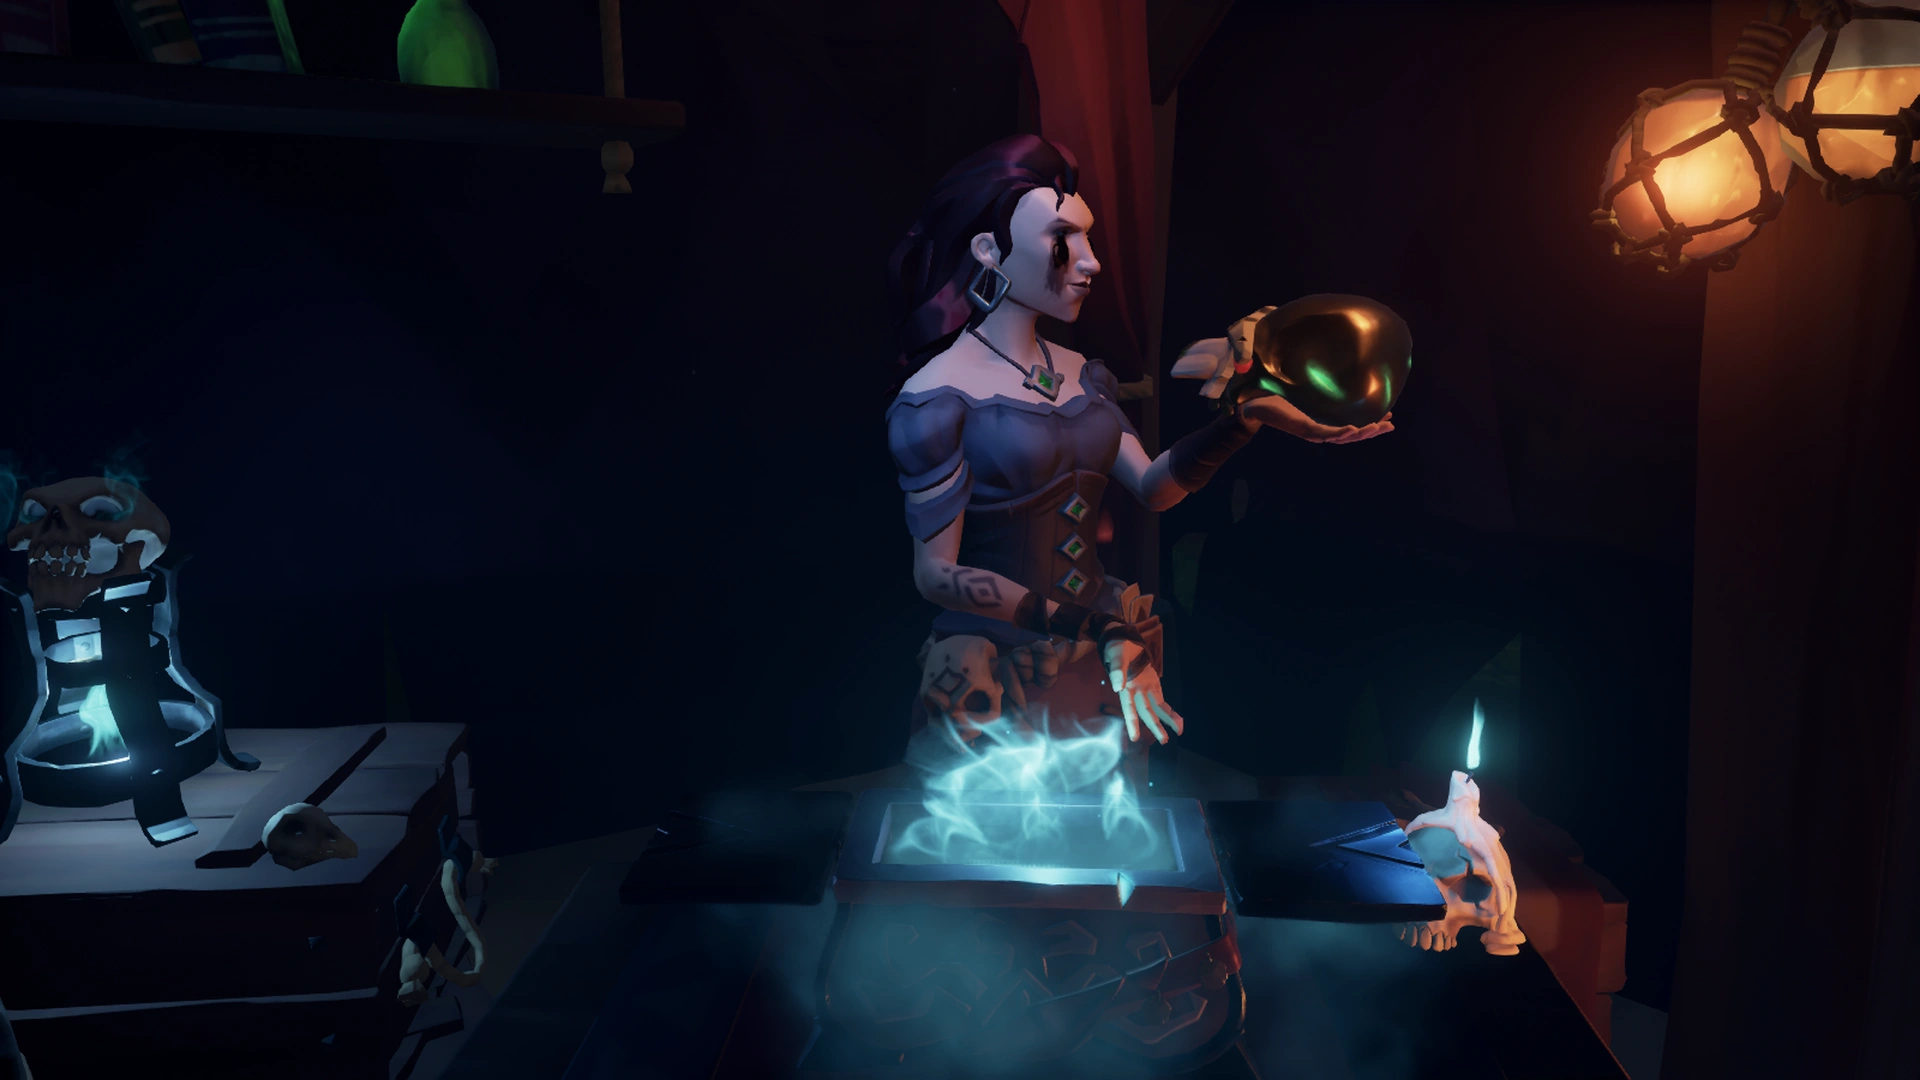
MADAME OLIVIA
Are those Briggsy's precious treasures? Let me see..
Ah, the tools of an adventurer.
I spend so much of my time surrounded by bones, it is sometimes easy to forget that they were once people too..
Tell no-one what you're about to witness! There are some secrets that even we, the Order of Souls, are forbidden to share…
By recall's light and wisdom's might, the past shall point towards the future…
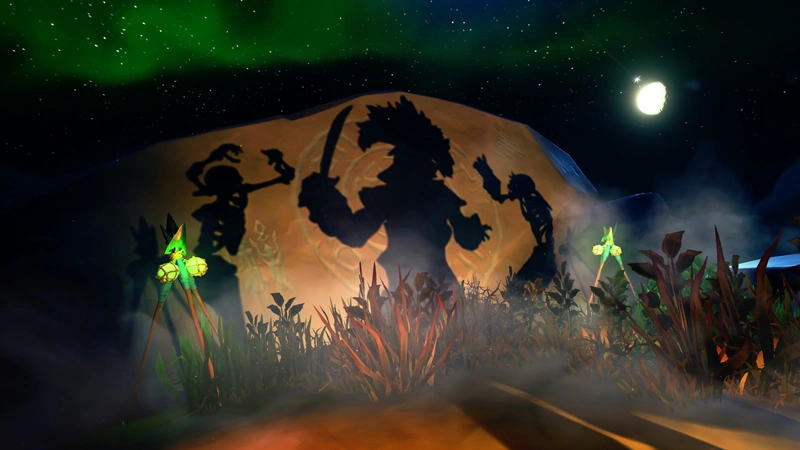
Behold! The true power of the Order of Souls.
There are few left with the knowledge to create an artefact with such… potential.-
-
-
-
(Madame Olivia adds the artefacts and some ingredients into a transmutation box, which processes them into an Enchanted Compass)
Imbued with the Order's magic, this compass will point the way to Briggsy, no matter where upon the Sea of Thieves she may be lurking.
Once again, I implore you to be cautious. Death has only made her more formidable.
Should you triumph, return to me with the skull of your enemy.
In exchange for such a valuable prize, I will do all that I can to help you onwards along your journey.-
-
-
-
Gallery[]

Skeleton Key in hand
Skeleton Chest contents
Dig up the chest in the spot where the captain was located.
Hunting the Cursed Rogue[]
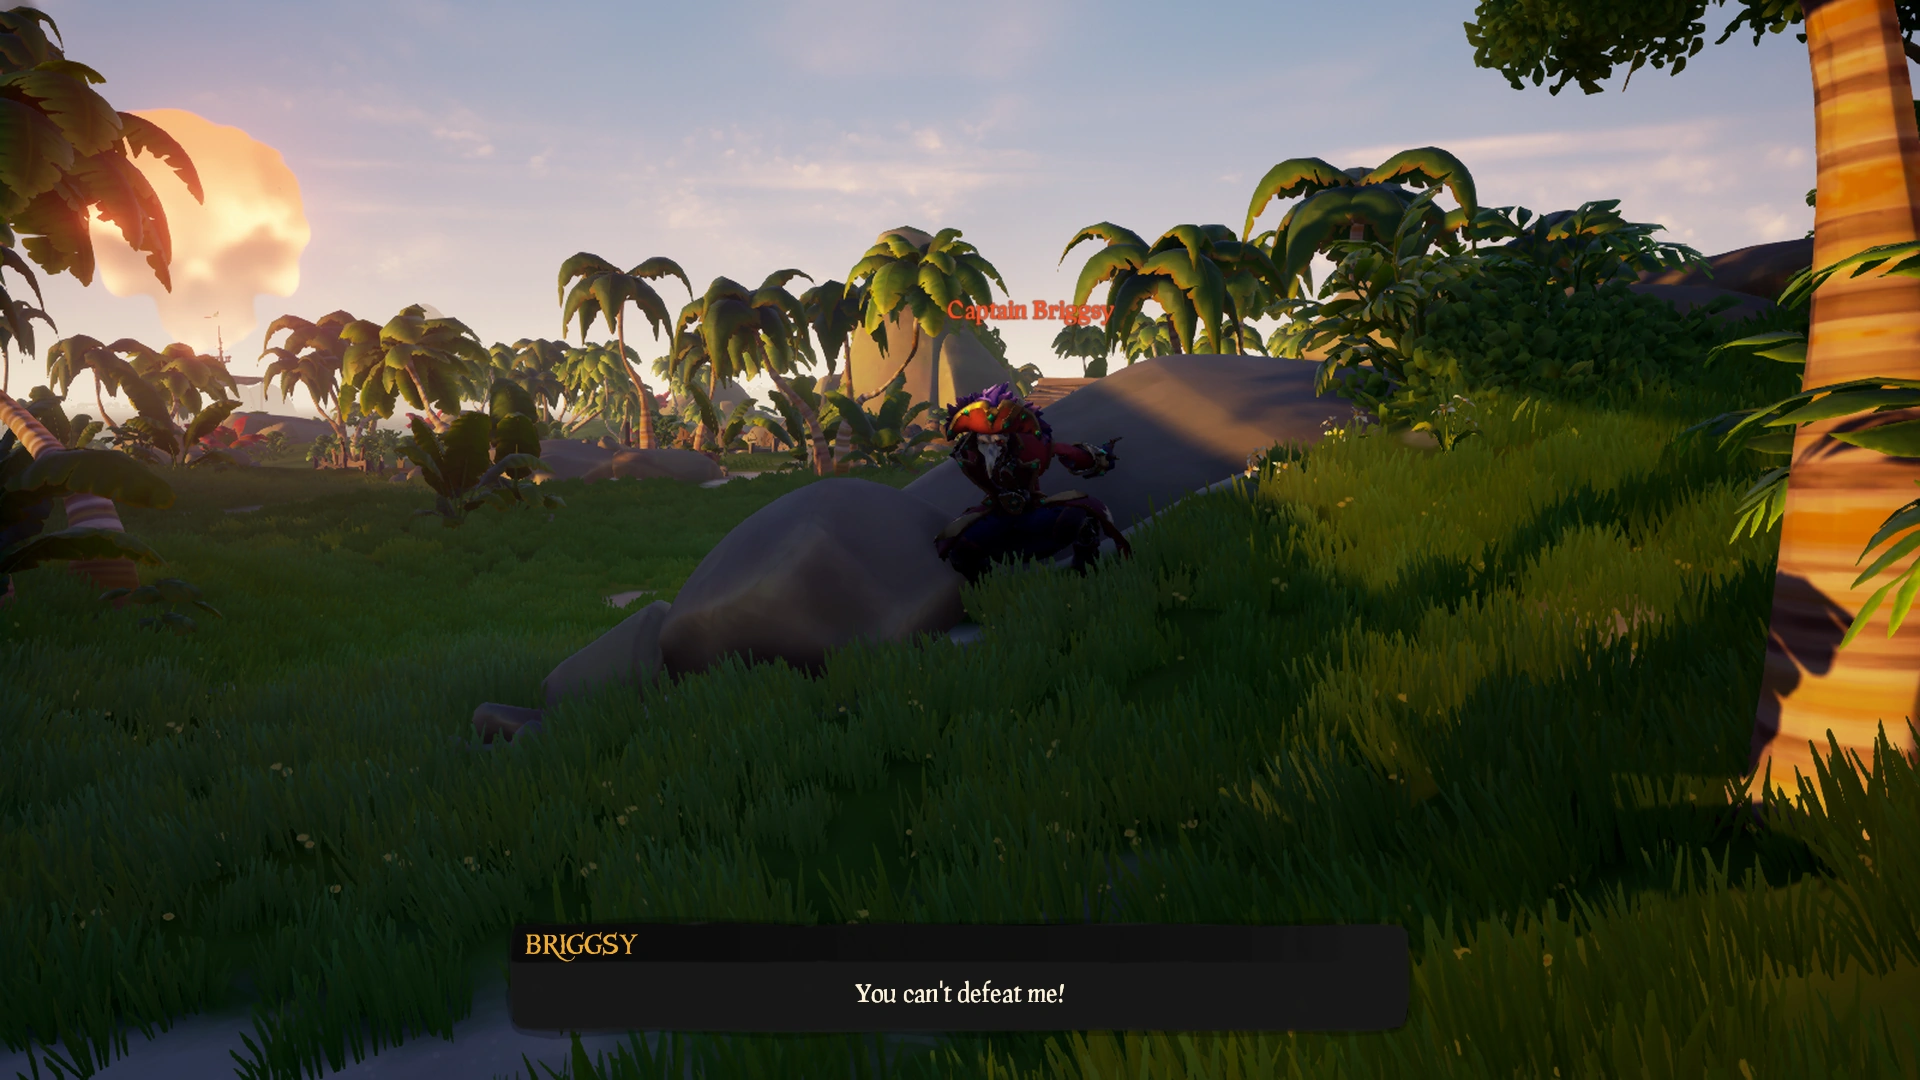
The Enchanted Compass will point towards Captain Briggsy. She can be found on Cannon Cove, Discovery Ridge, Kraken's Fall, Lone Cove, Mermaid's Hideaway, Shipwreck Bay, The Crooked Masts or Wanderer's Refuge.
Briggsy is a Gold skeleton that summons skeleton reinforcements, vanishes to re-position, and charges up a powerful pulse attack. She rarely engages in combat, leaving her skeleton minions to overwhelm her enemy. In larger crews, is recommended to dedicate one member to eliminate the ranged skeletons, and another to group the skeletons away from Briggsy. She eats bananas to heal, a good strategy would be to lure her in front of the ship's cannons for heavy artillery. Firebombs can make quick work of the minions and also deal damage to Briggsy. Also sniping from the deck of the ship works well if you do not have enough cannon balls.
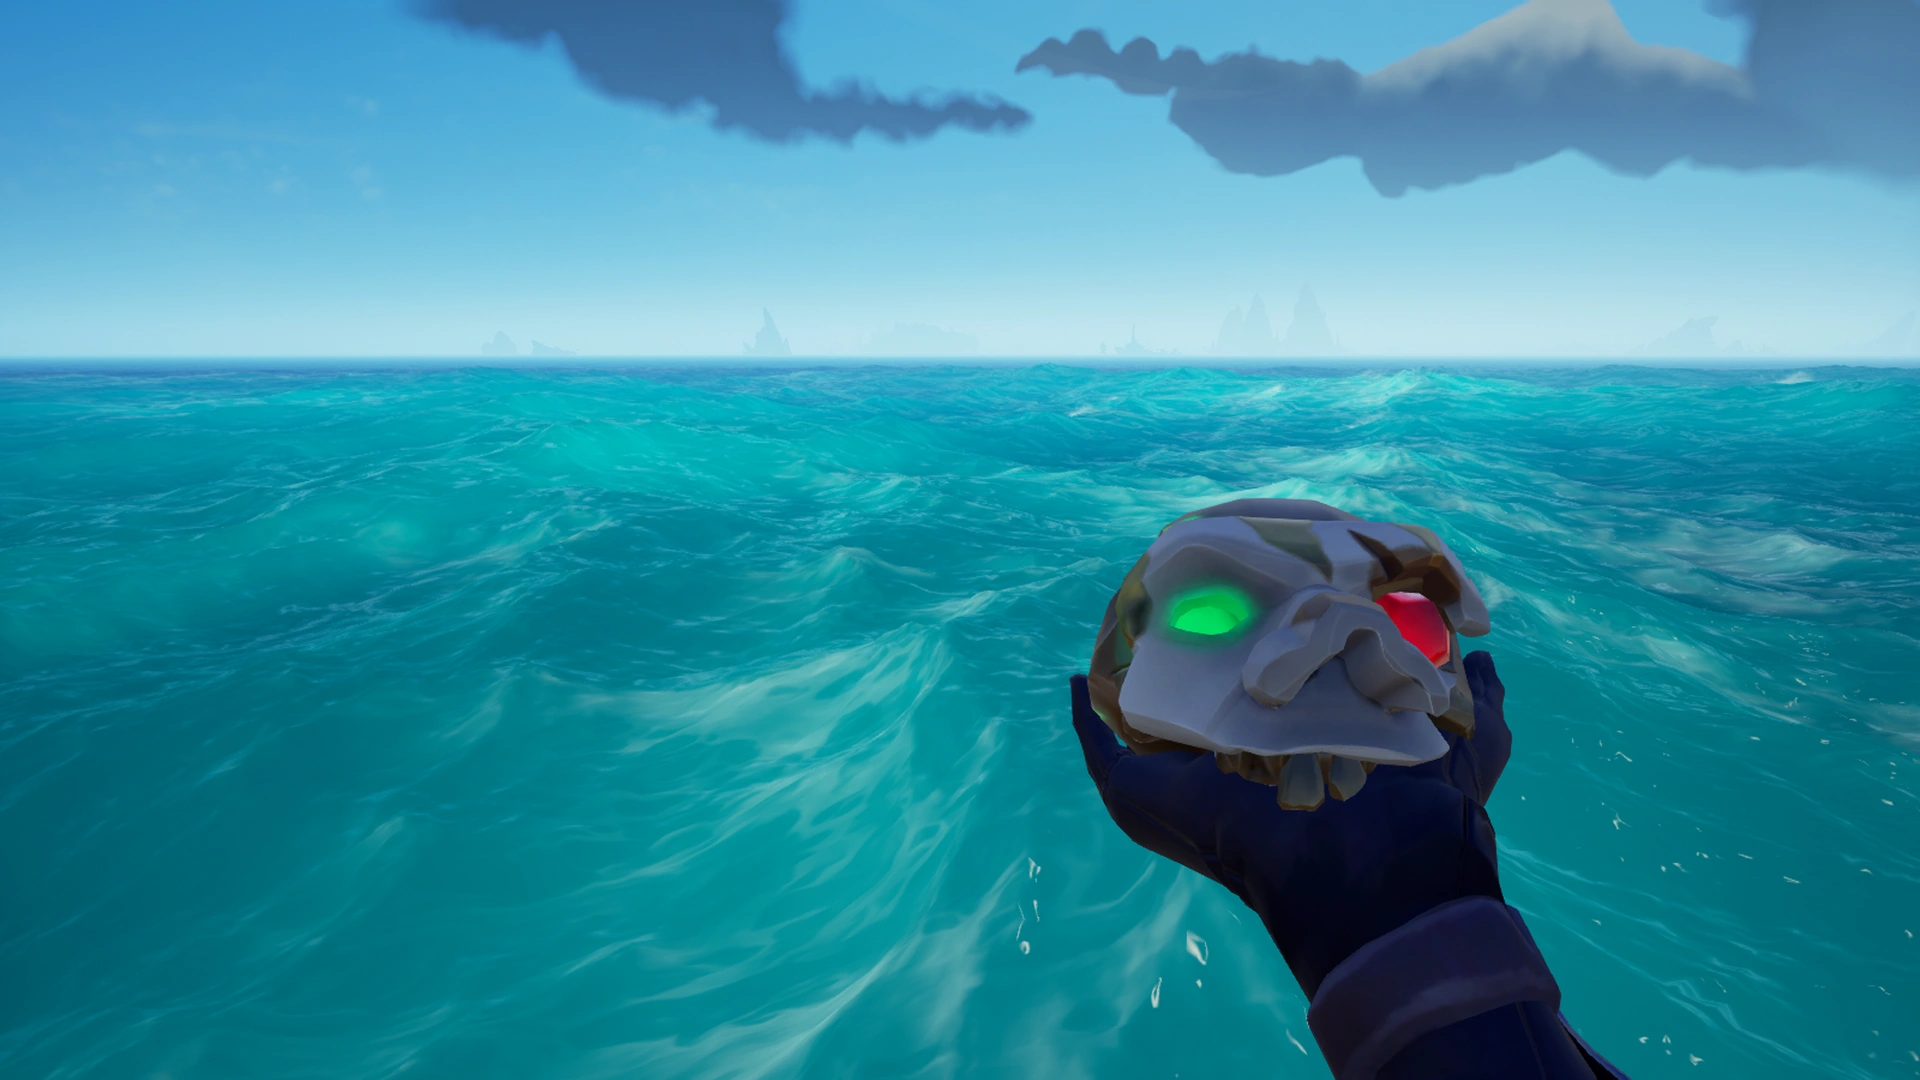
Don't forget to grab Briggsy's Skull before leaving the island.

CAPTAIN BRIGGSY
Fire. Heat. Soon they'll be more than just words.
Oh, to have flesh once more.
I'll be able to smell the sea air! Feel the weight of coins in my palm! Taste the bottom of a barrel of Grog!
There wasn't a pirate alive who didn't cheer when they heard the name 'Briggsy' — Kraken Slayer, Shroudbreaker and Adventurer Extraordinaire!
Now look at me… Camped out in some nameless backwater with just you brainless boneheads for company…
It's all because of that damned curse!
Even my old shipmates think I'm dead, or that I'm some sort of monster! And maybe I am!
Once I'm free of it, everyone will know my name again!-
-
-
-
Gallery[]
Enchanted Compass
Briggsy on Lone Cove
Briggsy's Skull in hand
Conclusion[]
Head back to Plunder Outpost once again to submit Briggsy's skull to Madame Olivia and finish the Tall Tale.
MADAME OLIVIA
The skull of a Skeleton Lord! Oh, I've waited years for this moment…
So few people stop to wonder what the Order of Souls does with the bounties once we have them.
Each skull holds many secrets, memories of old hoards and old encounters, long forgotten.
If Briggsy truly did possess the Shroudbreaker, the missing pieces should lie somewhere within her recollection.
But be warned, such visions are not always easy to interpret.-
-
-
-
(Madame Olivia peppers the skull with glowing dust, then inhales the dust to blow onto the skull. She whispers an incantation to activate the skull, then inhales the memory-filled dust.)
Such a long life… There are many memories to sift through, but I can make out a few names…
Tasha, a girl in a tavern, staring in awe as the firelight flickers and great tale are told…
Sudds… A dear friend who threads his way across the wildest oceans by the light of the stars…
Salty… trembling before a blade, revealing the lair of a Trickster.
Wild Rose… True love shining like a beacon that calls across the waves…
Fate has bound you to meet with these wanderers, for they alone know of the precious stones you seek.
I can offer you nothing more than my gratitude and faith that you have the strength to reach the Shores of Gold. Farewell.-
-
-
-
Gallery[]
Madame Olivia with the skull
Bounty Hunter's Journals[]
Looking at the Commendations of the Tall Tale, you may have noticed one of them requiring the Crew to find all of The Bounty Hunter's Journals. These five Journals can only be found and read when the Tall Tale is active and they are only present for the Crew who is doing the Tall Tale. These Journals are hidden around The Ancient Isles Region. Each of the Journals hints towards the location of the next journal.
The locations and the contents of the five Journals are presented below. Click Expand under any Journal to see an image of its exact location.
CLICK FOR JOURNALS
|
|---|
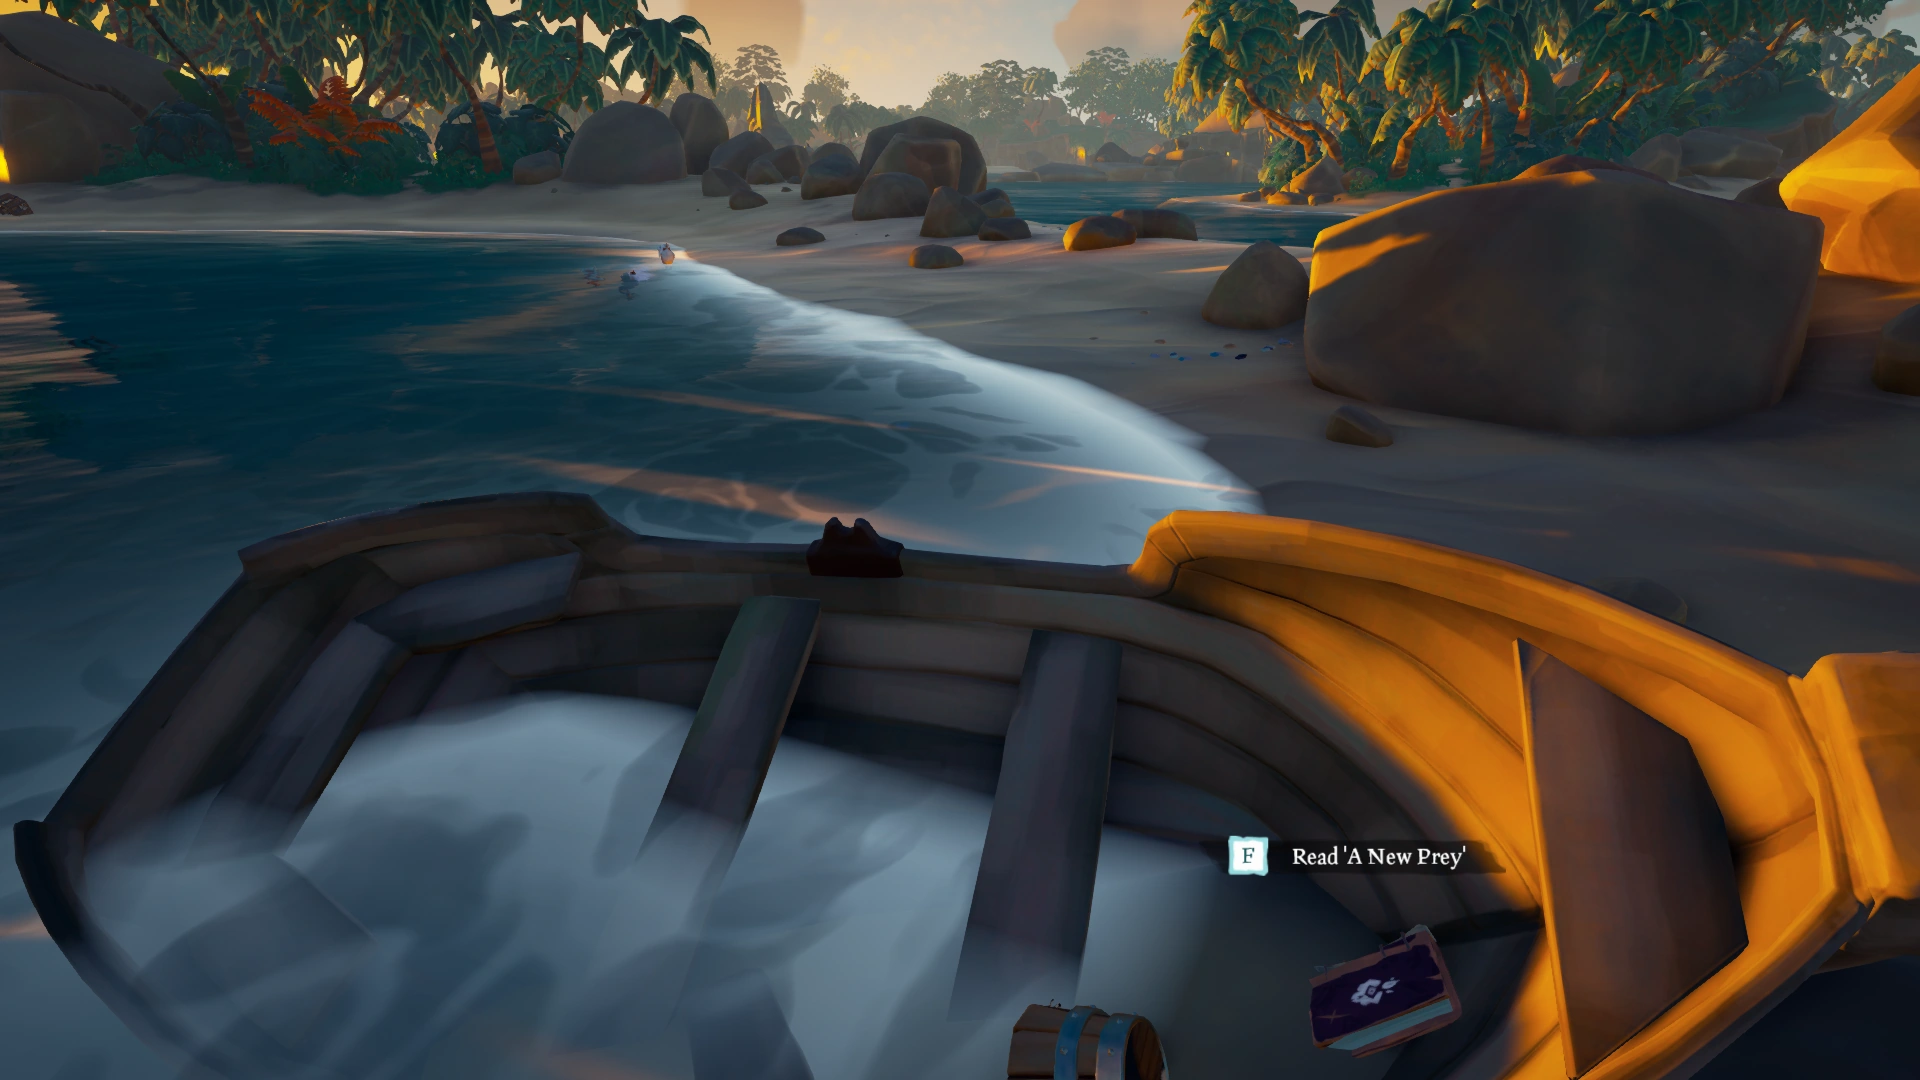
A New Prey[]
(South Tunnel, Shark Bait Cove)
Three flagons of brandy and a fine meal claimed the last of my coin. Fortunately, I already have a new bounty in my sights.
The simpering woman in her tent at first refused to hand the wretched paper over. "Too dangerous", she said. What rot!
I might well have turned my blade upon her but for my cardinal rule: I never kill for free. The paper is mine now, regardless.
And who is this Briggsy? A capering child, it seems; a pirate more concerned with showing off than amassing any great fortune.
She is known to make camp at Discovery Ridge. Doubtless I shall catch her there at play. We'll see how long her humour lasts.
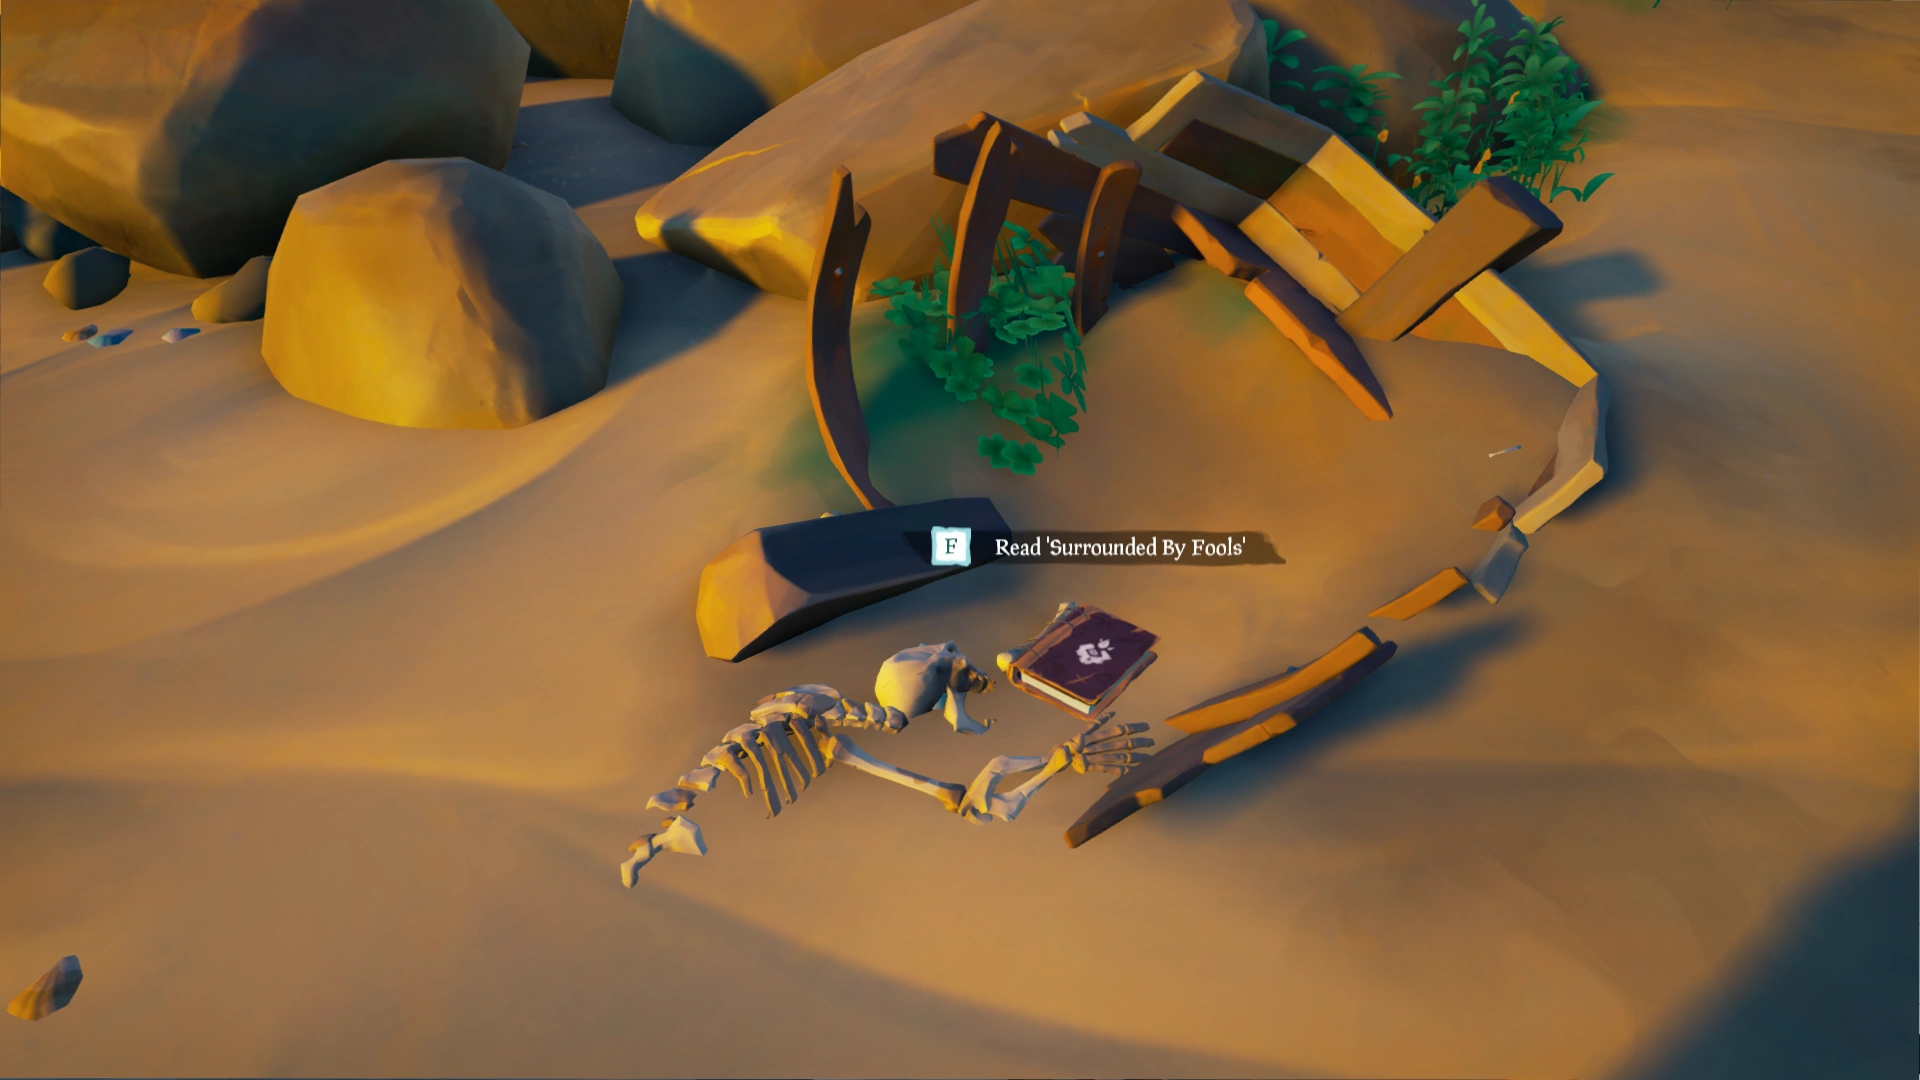
Surrounded By Fools[]
(Northeast rowboat wreckage. Discovery Ridge)
If there's one thing pirates love more than their rum bottles, it's making up ridiculous names for their pitiful fights of fancy.
They insisted that Briggsy, my quarry, has been transformed into a 'Skeleton Lord' with others at her beck and call.
Did they really expect to scare me with this revelation? Whether or not they can walk and talk, bones can be broken just the same.
It makes me all the more eager to hunt the rat down and put her in her place. Perhaps we'll finally meet at Kraken’s Fall…
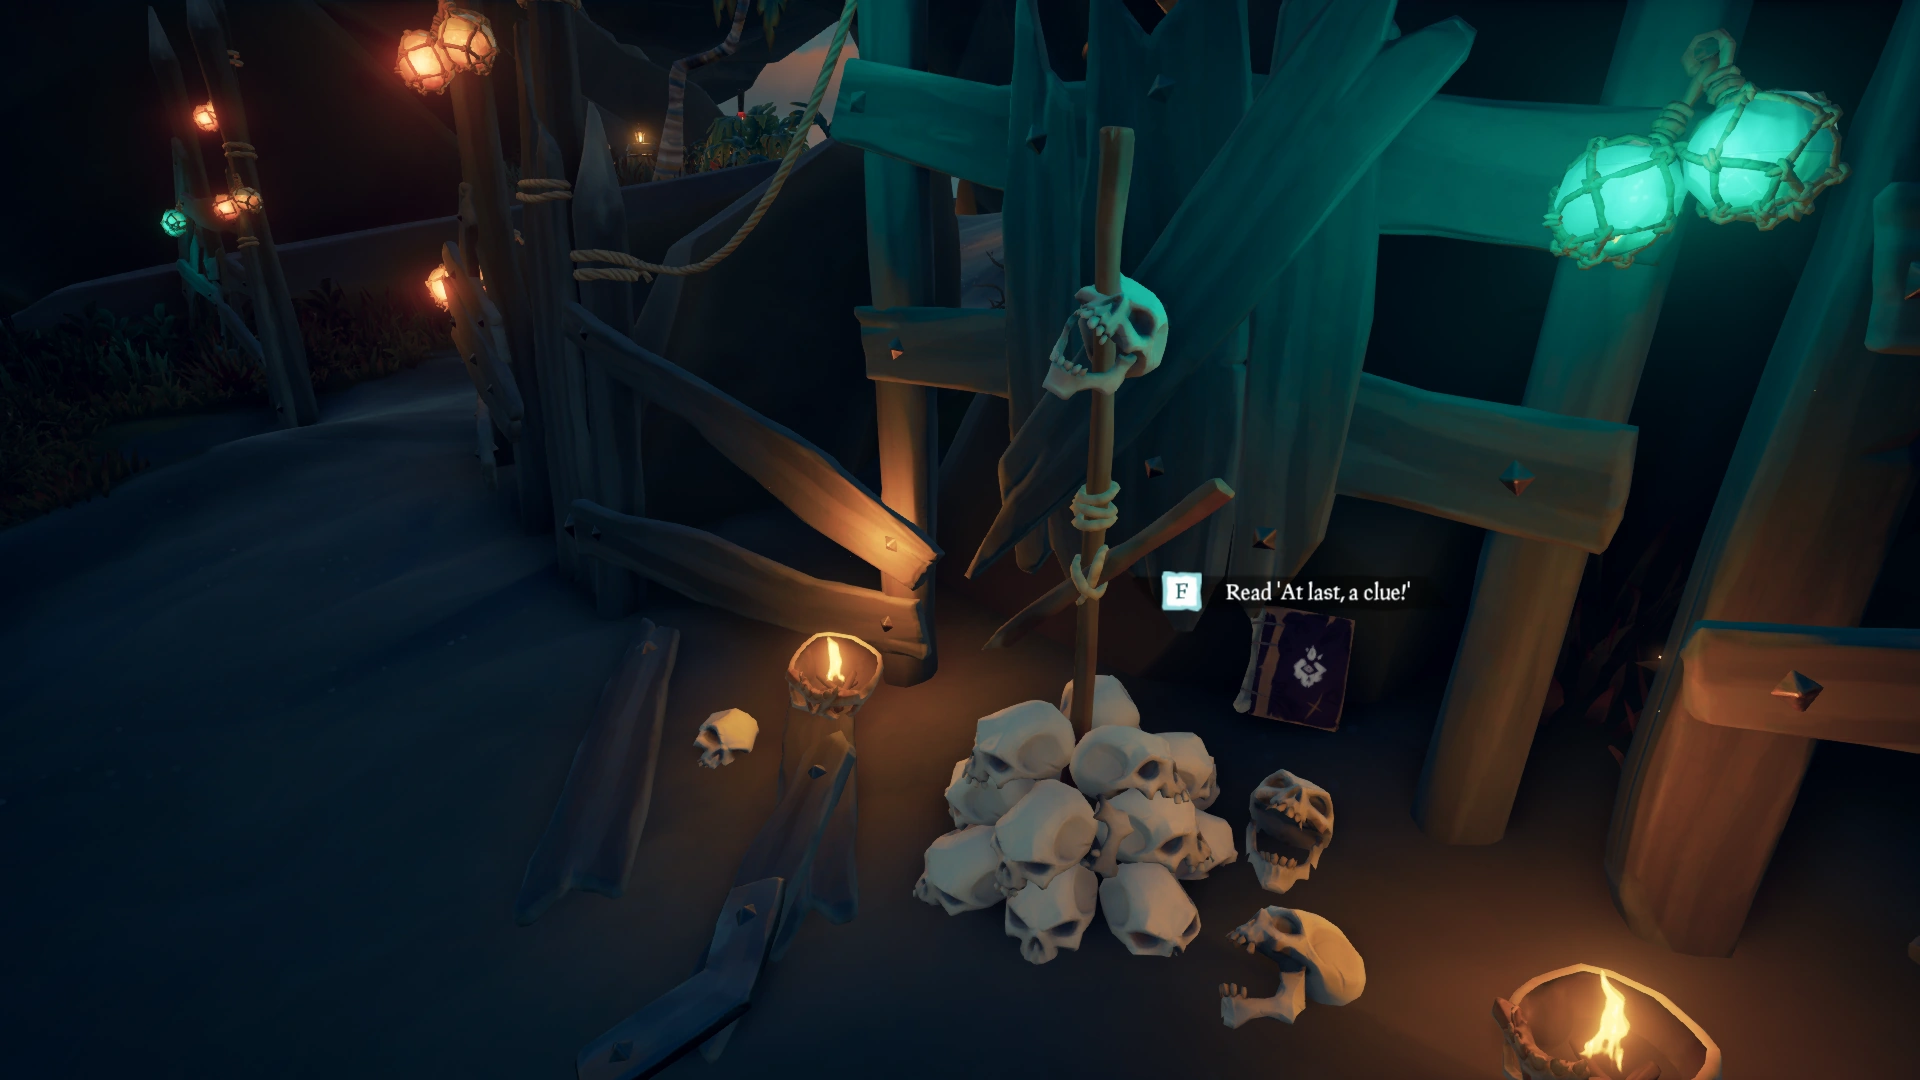
At last, a clue![]
(Southeast skull pile, Kraken's Fall)
I reached another of Briggsy's nests to find it empty, or so I thought at first. That was when I heard the cries for help.
His shouting led me to a scrawny little man, whose head fell some way short of my shoulder, mewling from inside a barrel.
Having climbed inside when Briggsy and her crew arrived, he had spent the night cowering in his keg, only to find the lid stuck fast.
I released him in exchanged for what little coin he had, and he was only too happy to reveal Briggsy's heading: Wanderer's Refuge.
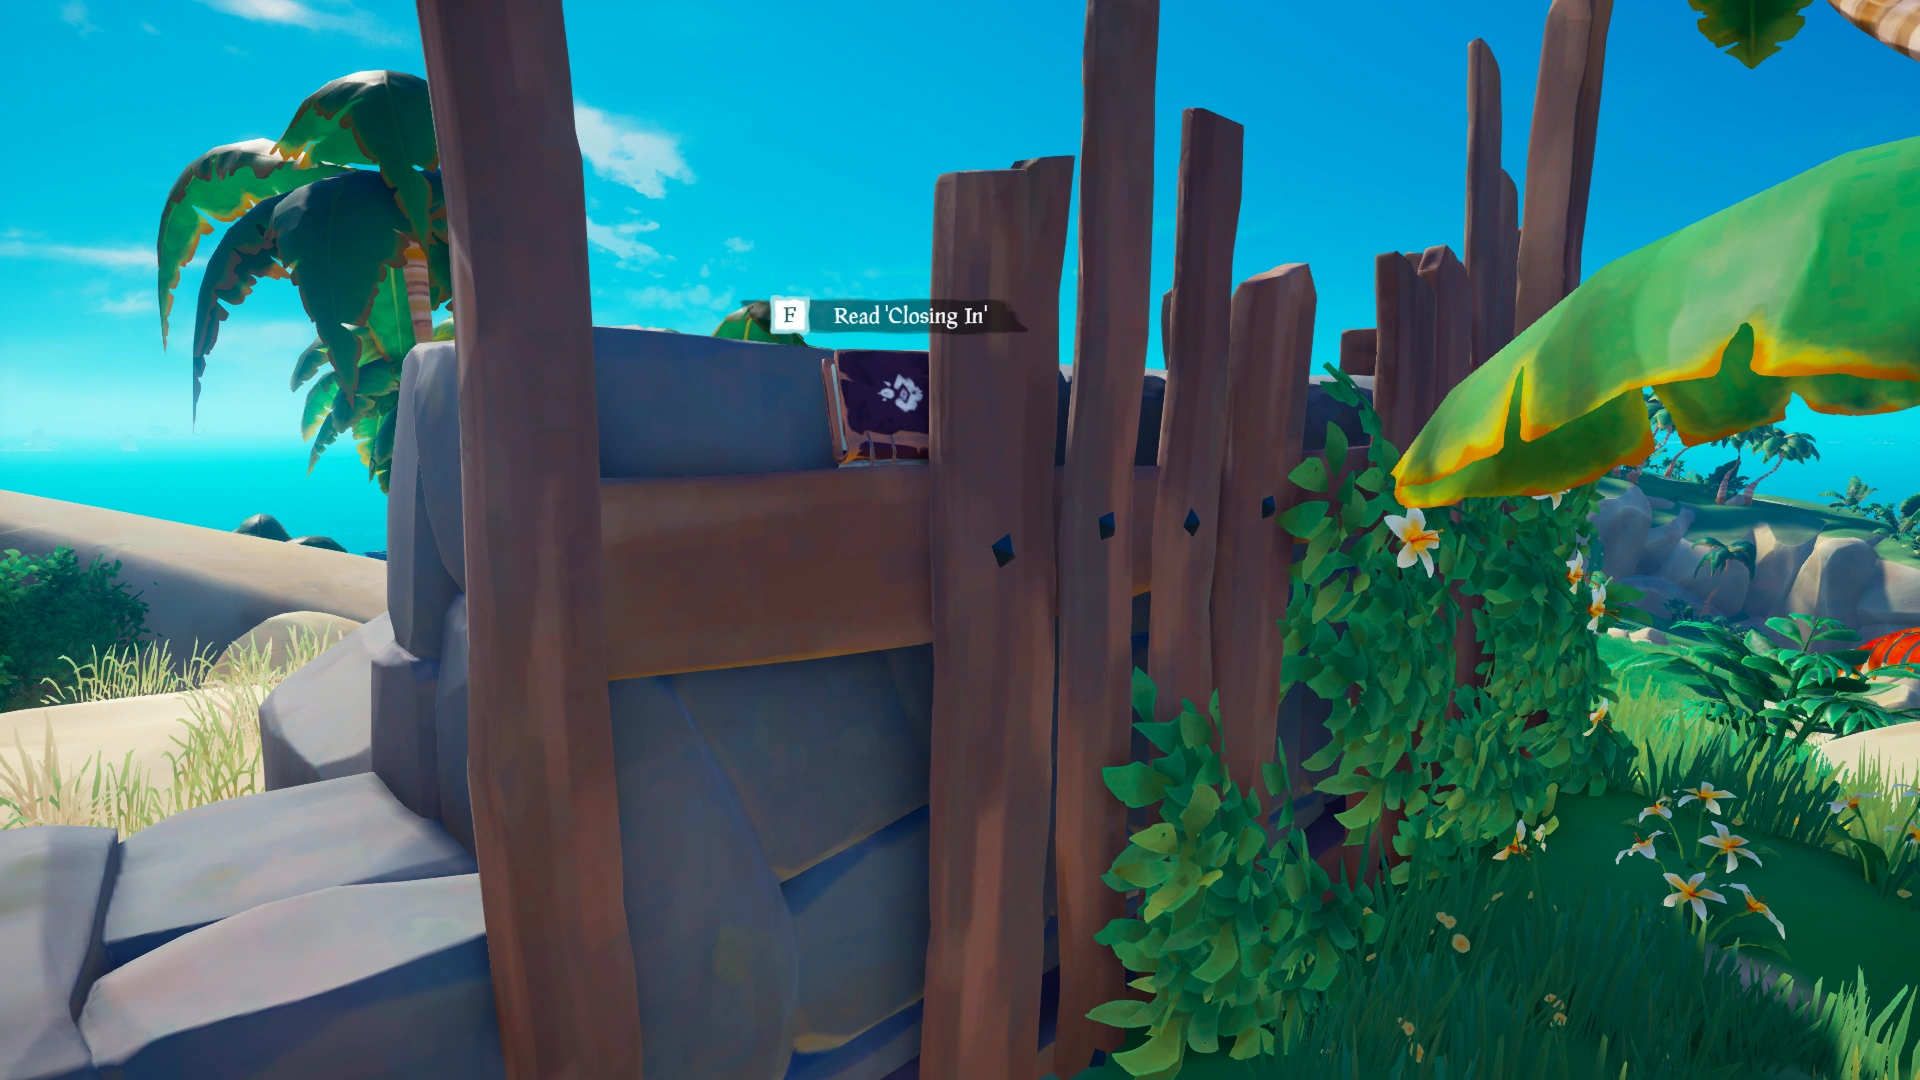
Closing In[]
(Stuck in a wall, Hilltop ruins, Wanderer's Refuge)
Too late once again, but by a matter of minutes. The ashes of her campfire were still smouldering, her prints fresh.
If the wind remains fair, I'll make it to Crook's Hollow in time to introduce myself, and we'll see how brave Briggsy really is.
Her crew deserve no such consideration. I'll smash them before they even know I'm there. A 'fair fight' for hunter and prey.
Her smart-mouthed skull will fetch a handsome price — that is, if I don't decide to keep it as a trophy for myself instead…
Defeated?![]
(Cave across the docks, Crook's Hollow)
To think when I began my hunt at Sharkbait Cove that it would end this way! Beaten and humiliated, my weapons tossed aside.
I struggled and spat as her bony fingers knotted my repos together, binding me. Each threat I uttered only made her laugh harder.
And yet… She was glorious! I cannot deny it. With every shot she dodged, each blow parried, I realised I had finally met my match.
I refuse to board the ferry. I cannot bear to return in shame — to see the faces of those who know me twisted into mocking sneers.
Death it is, then. A new kind of journey, and perhaps new bounties? Maybe the Reaper himself needs an apprentice…
